How to Restore Old Tools
Are your hand tools looking worse for wear? Bring old rusty tools back to life with this simple step-by-step tutorial on cleaning and maintaining hand tools.
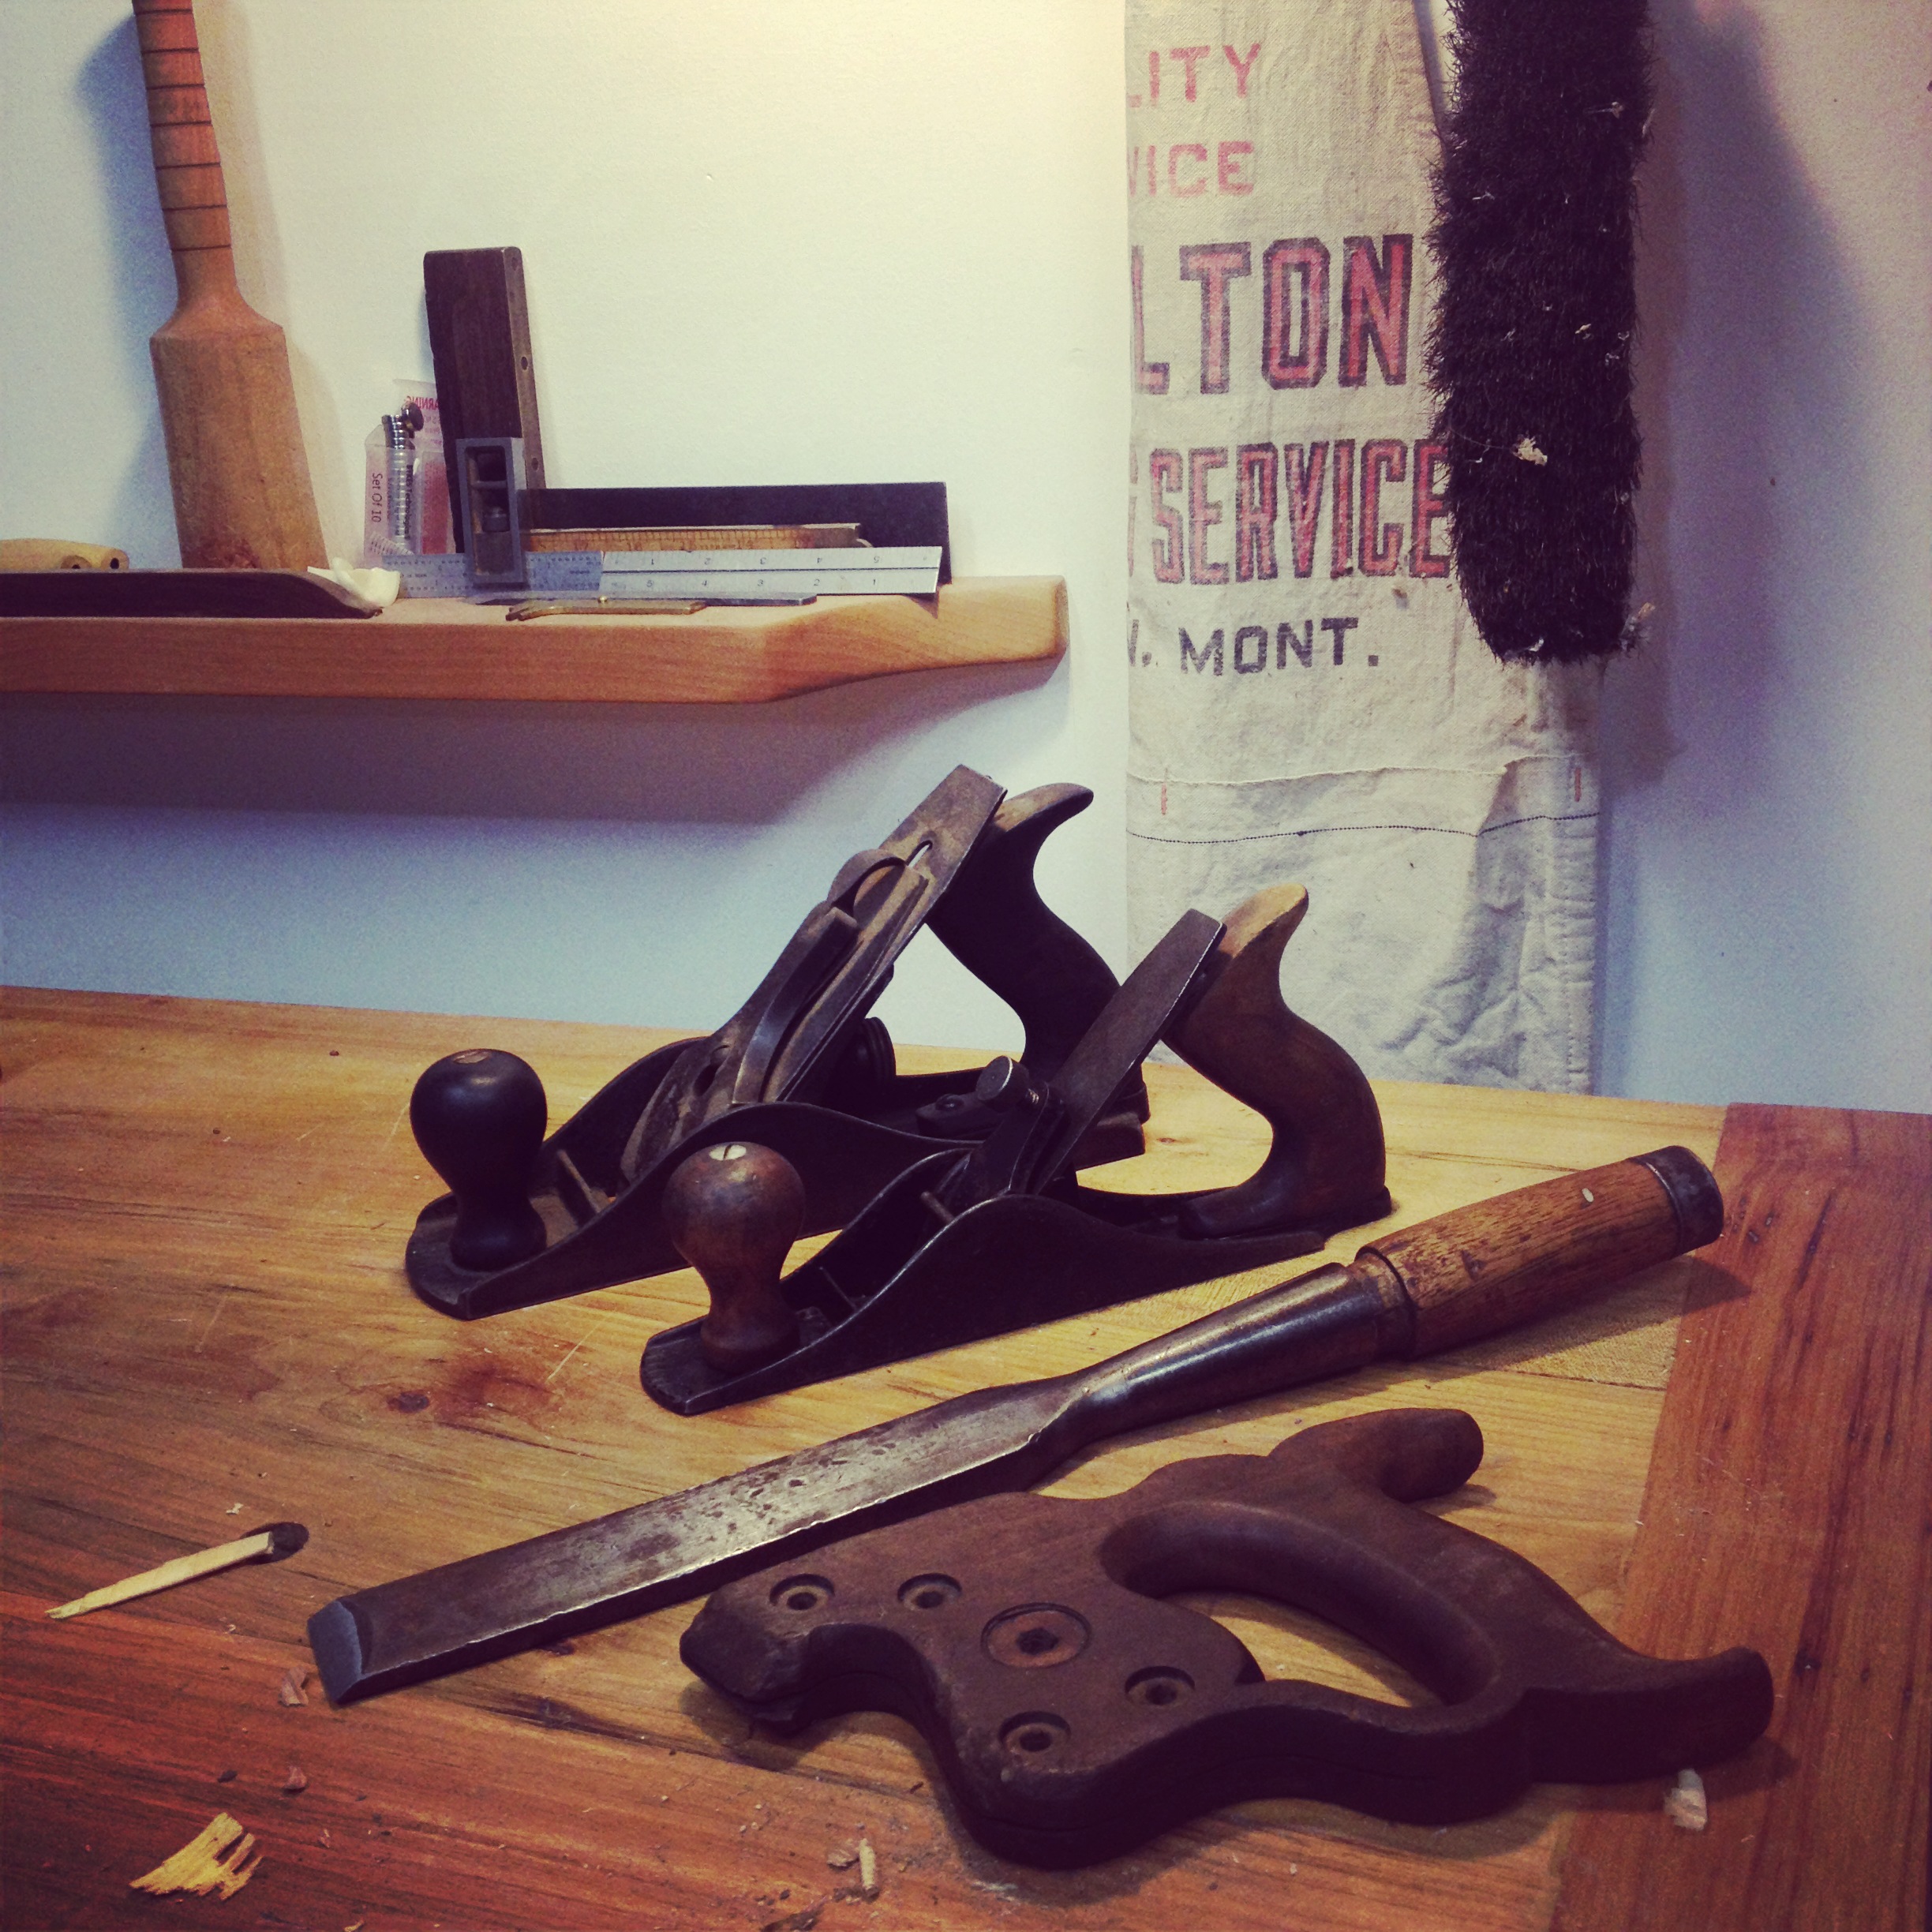
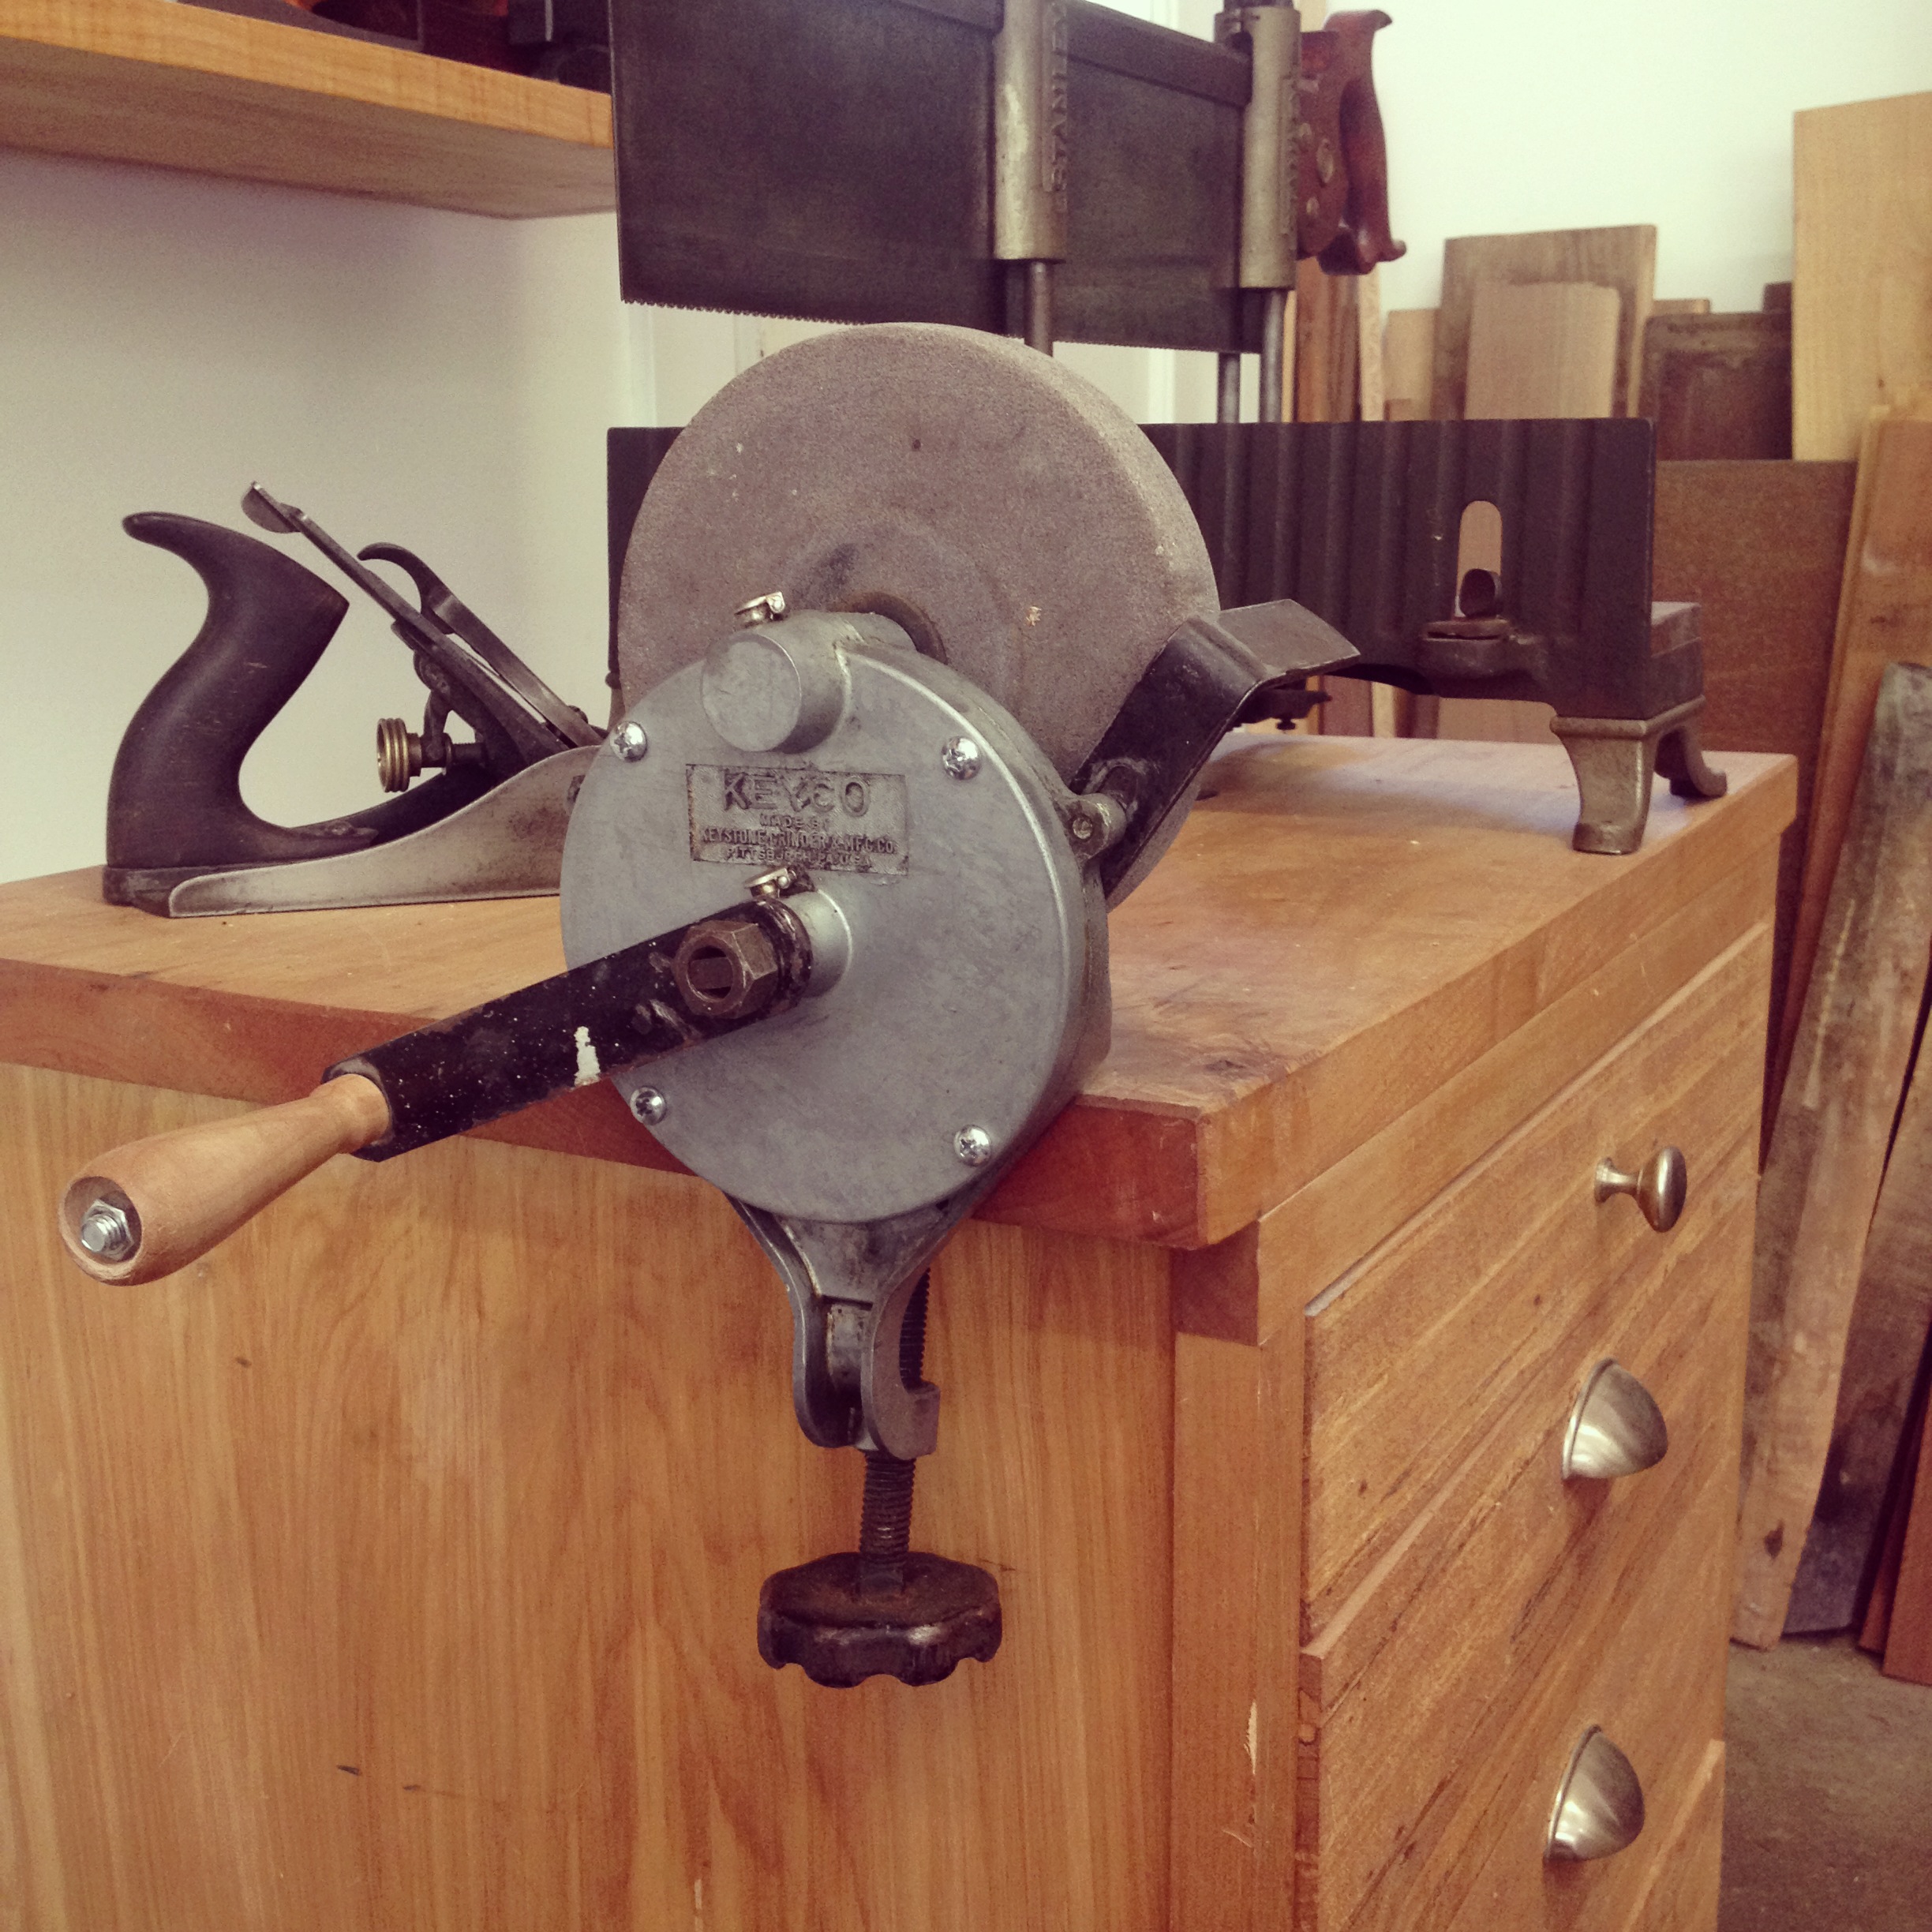
Using old tools in the workshop is an amazing experience. When tools are properly restored they are often just as good if not better than many products made today, and the history that accompanies them is so inspiring.
I love using old tools previously owned by a maker whose skill level I will likely never reach. I imagine their lives, their hands, and the pieces they built. It’s a really incredible feeling using antique tools to build furniture that breaks the Ikea mold, and furniture that will last not only my whole life but will likely outlive my grandchildren as well.
Antique metal tools can often be acquired and restored inexpensively, but depending on the condition in which the rusted tools were found, the restoration process can take a long time. There are many methods, such as baking soda and vinegar, oxalic acid, or electrolysis of which I've tried, but this is the one using citric acid I use most. I try to use as many natural or organic products as possible and leave the heavy chemicals outside the shop because I never know who is going to wander into my shop (kitties, bunnies, chickens, and ducks are frequent guests). When I tried electrolysis, it wasn't my favorite because it didn’t seem to be an effective rust remover over the acid process, and I had to constantly be worried about one of my critters getting into the electrolysis room and dipping a paw in the water- bye bye baby.
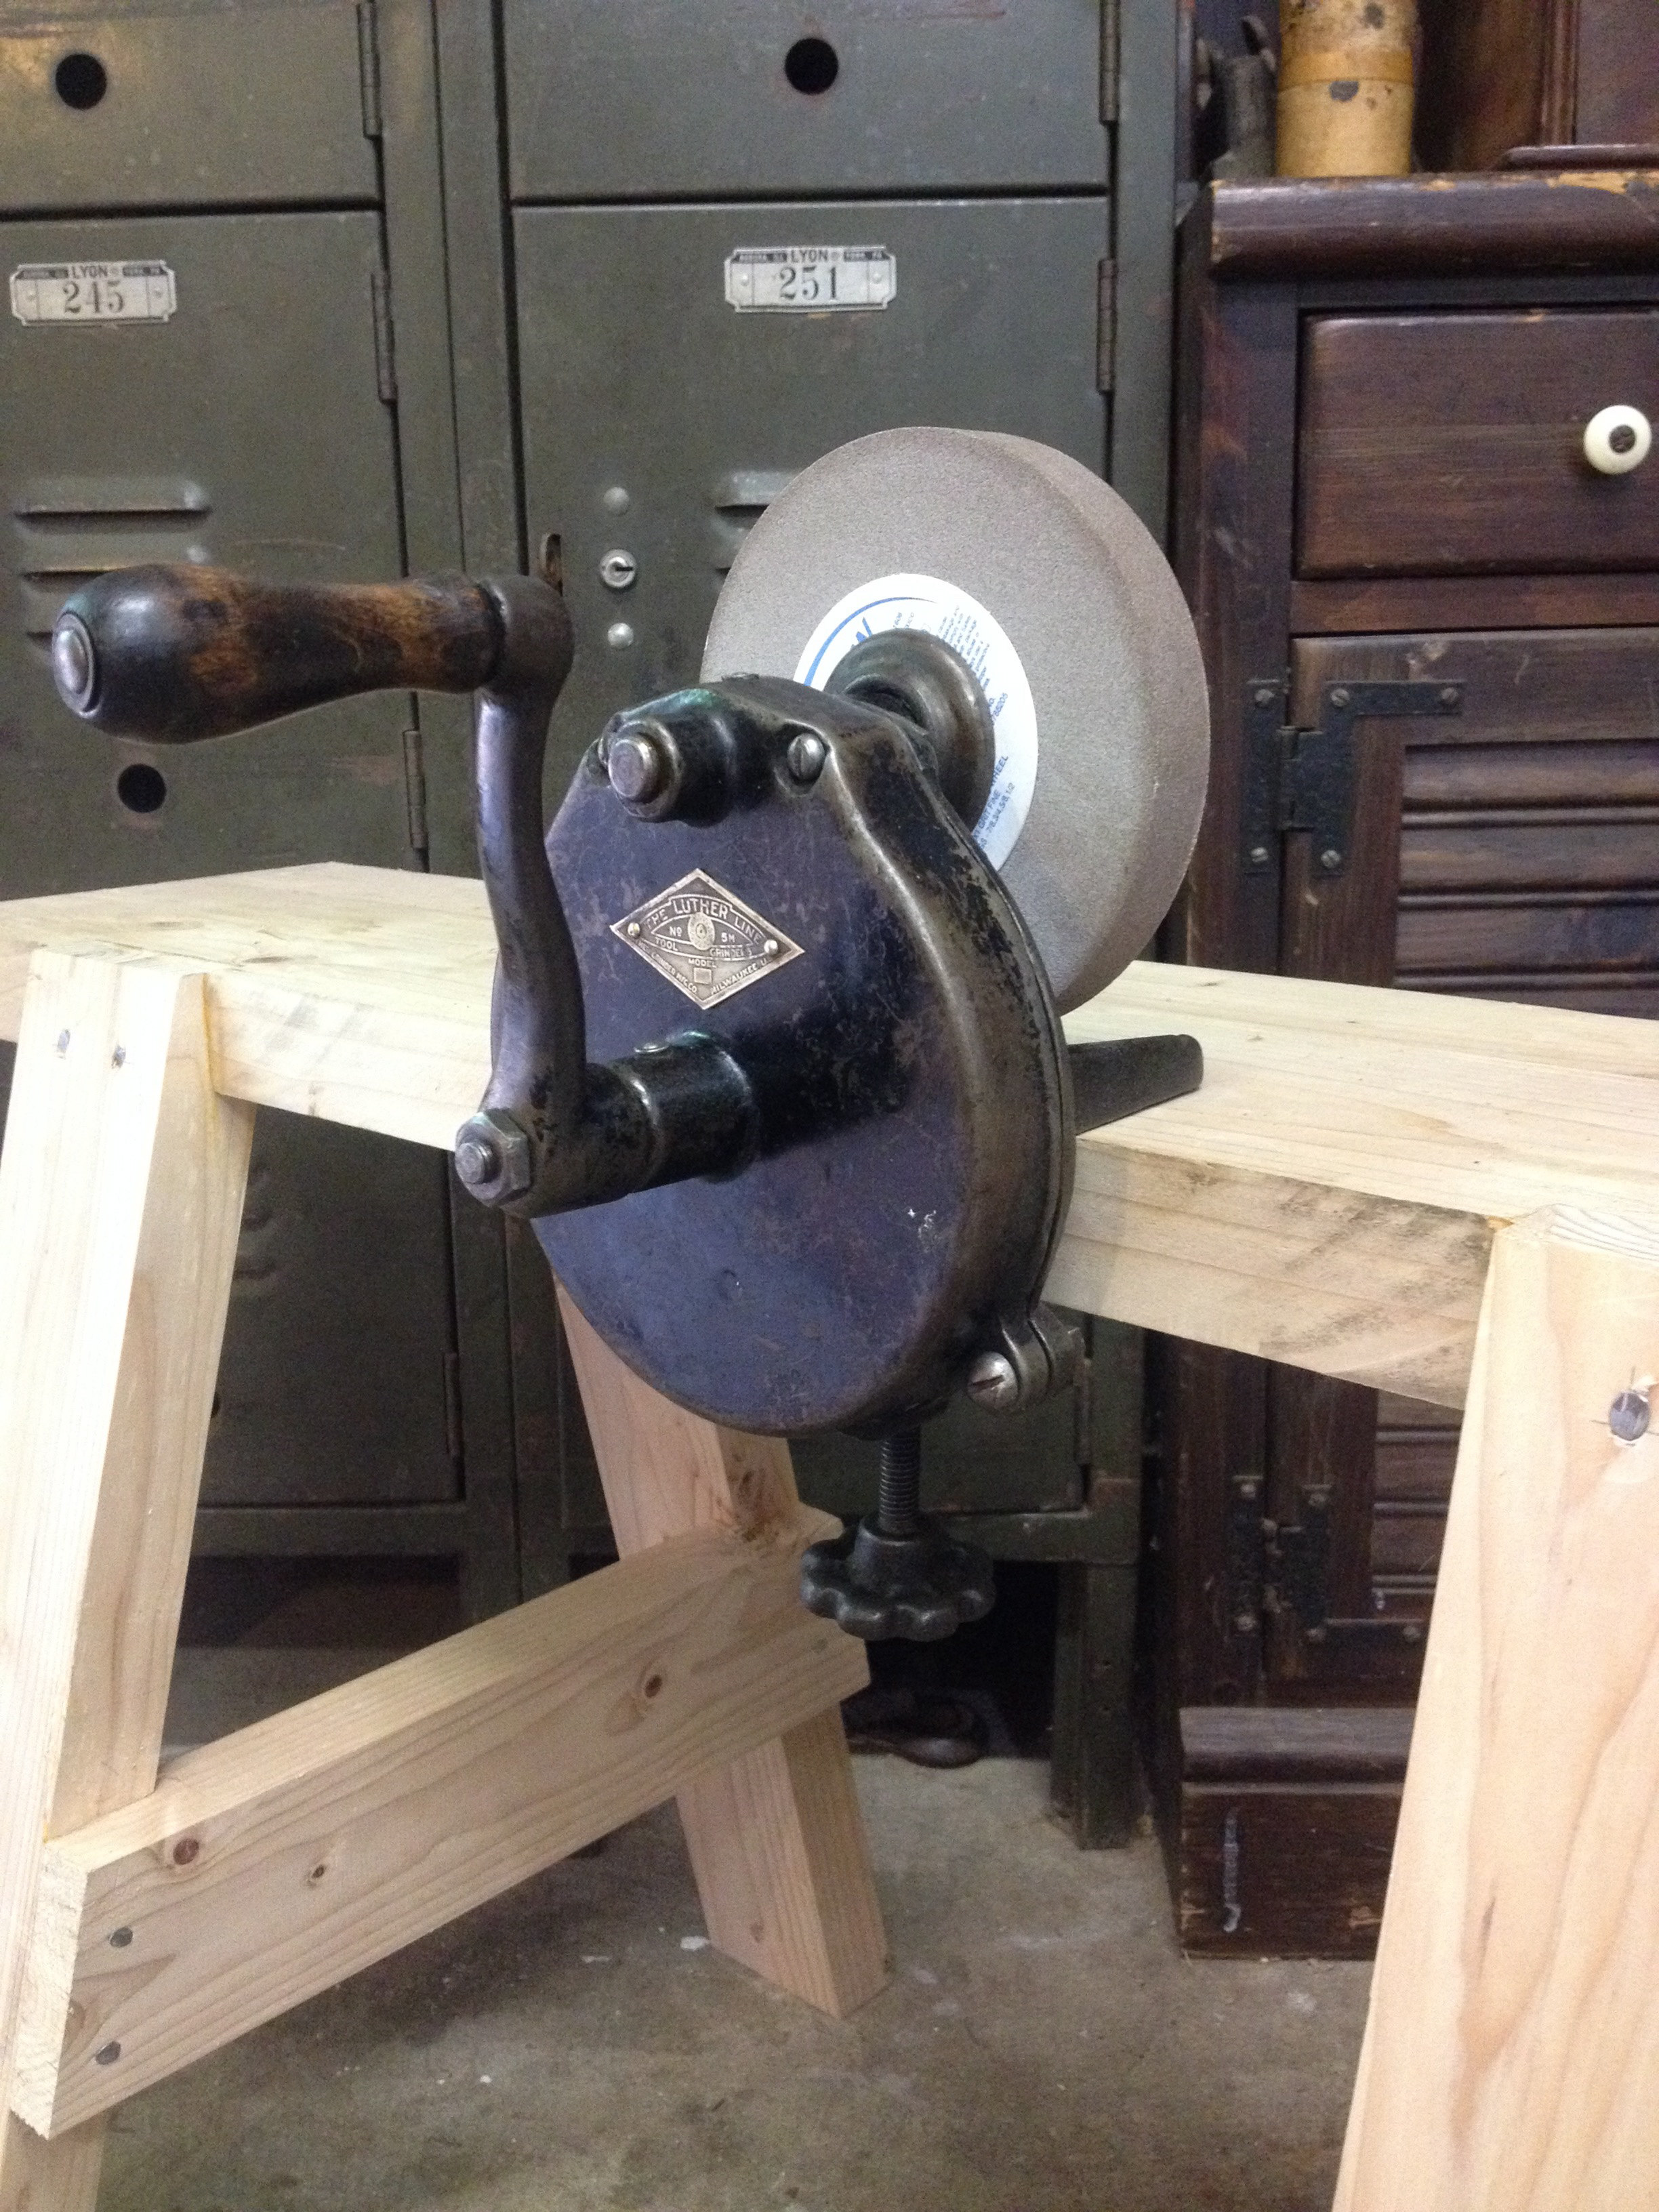
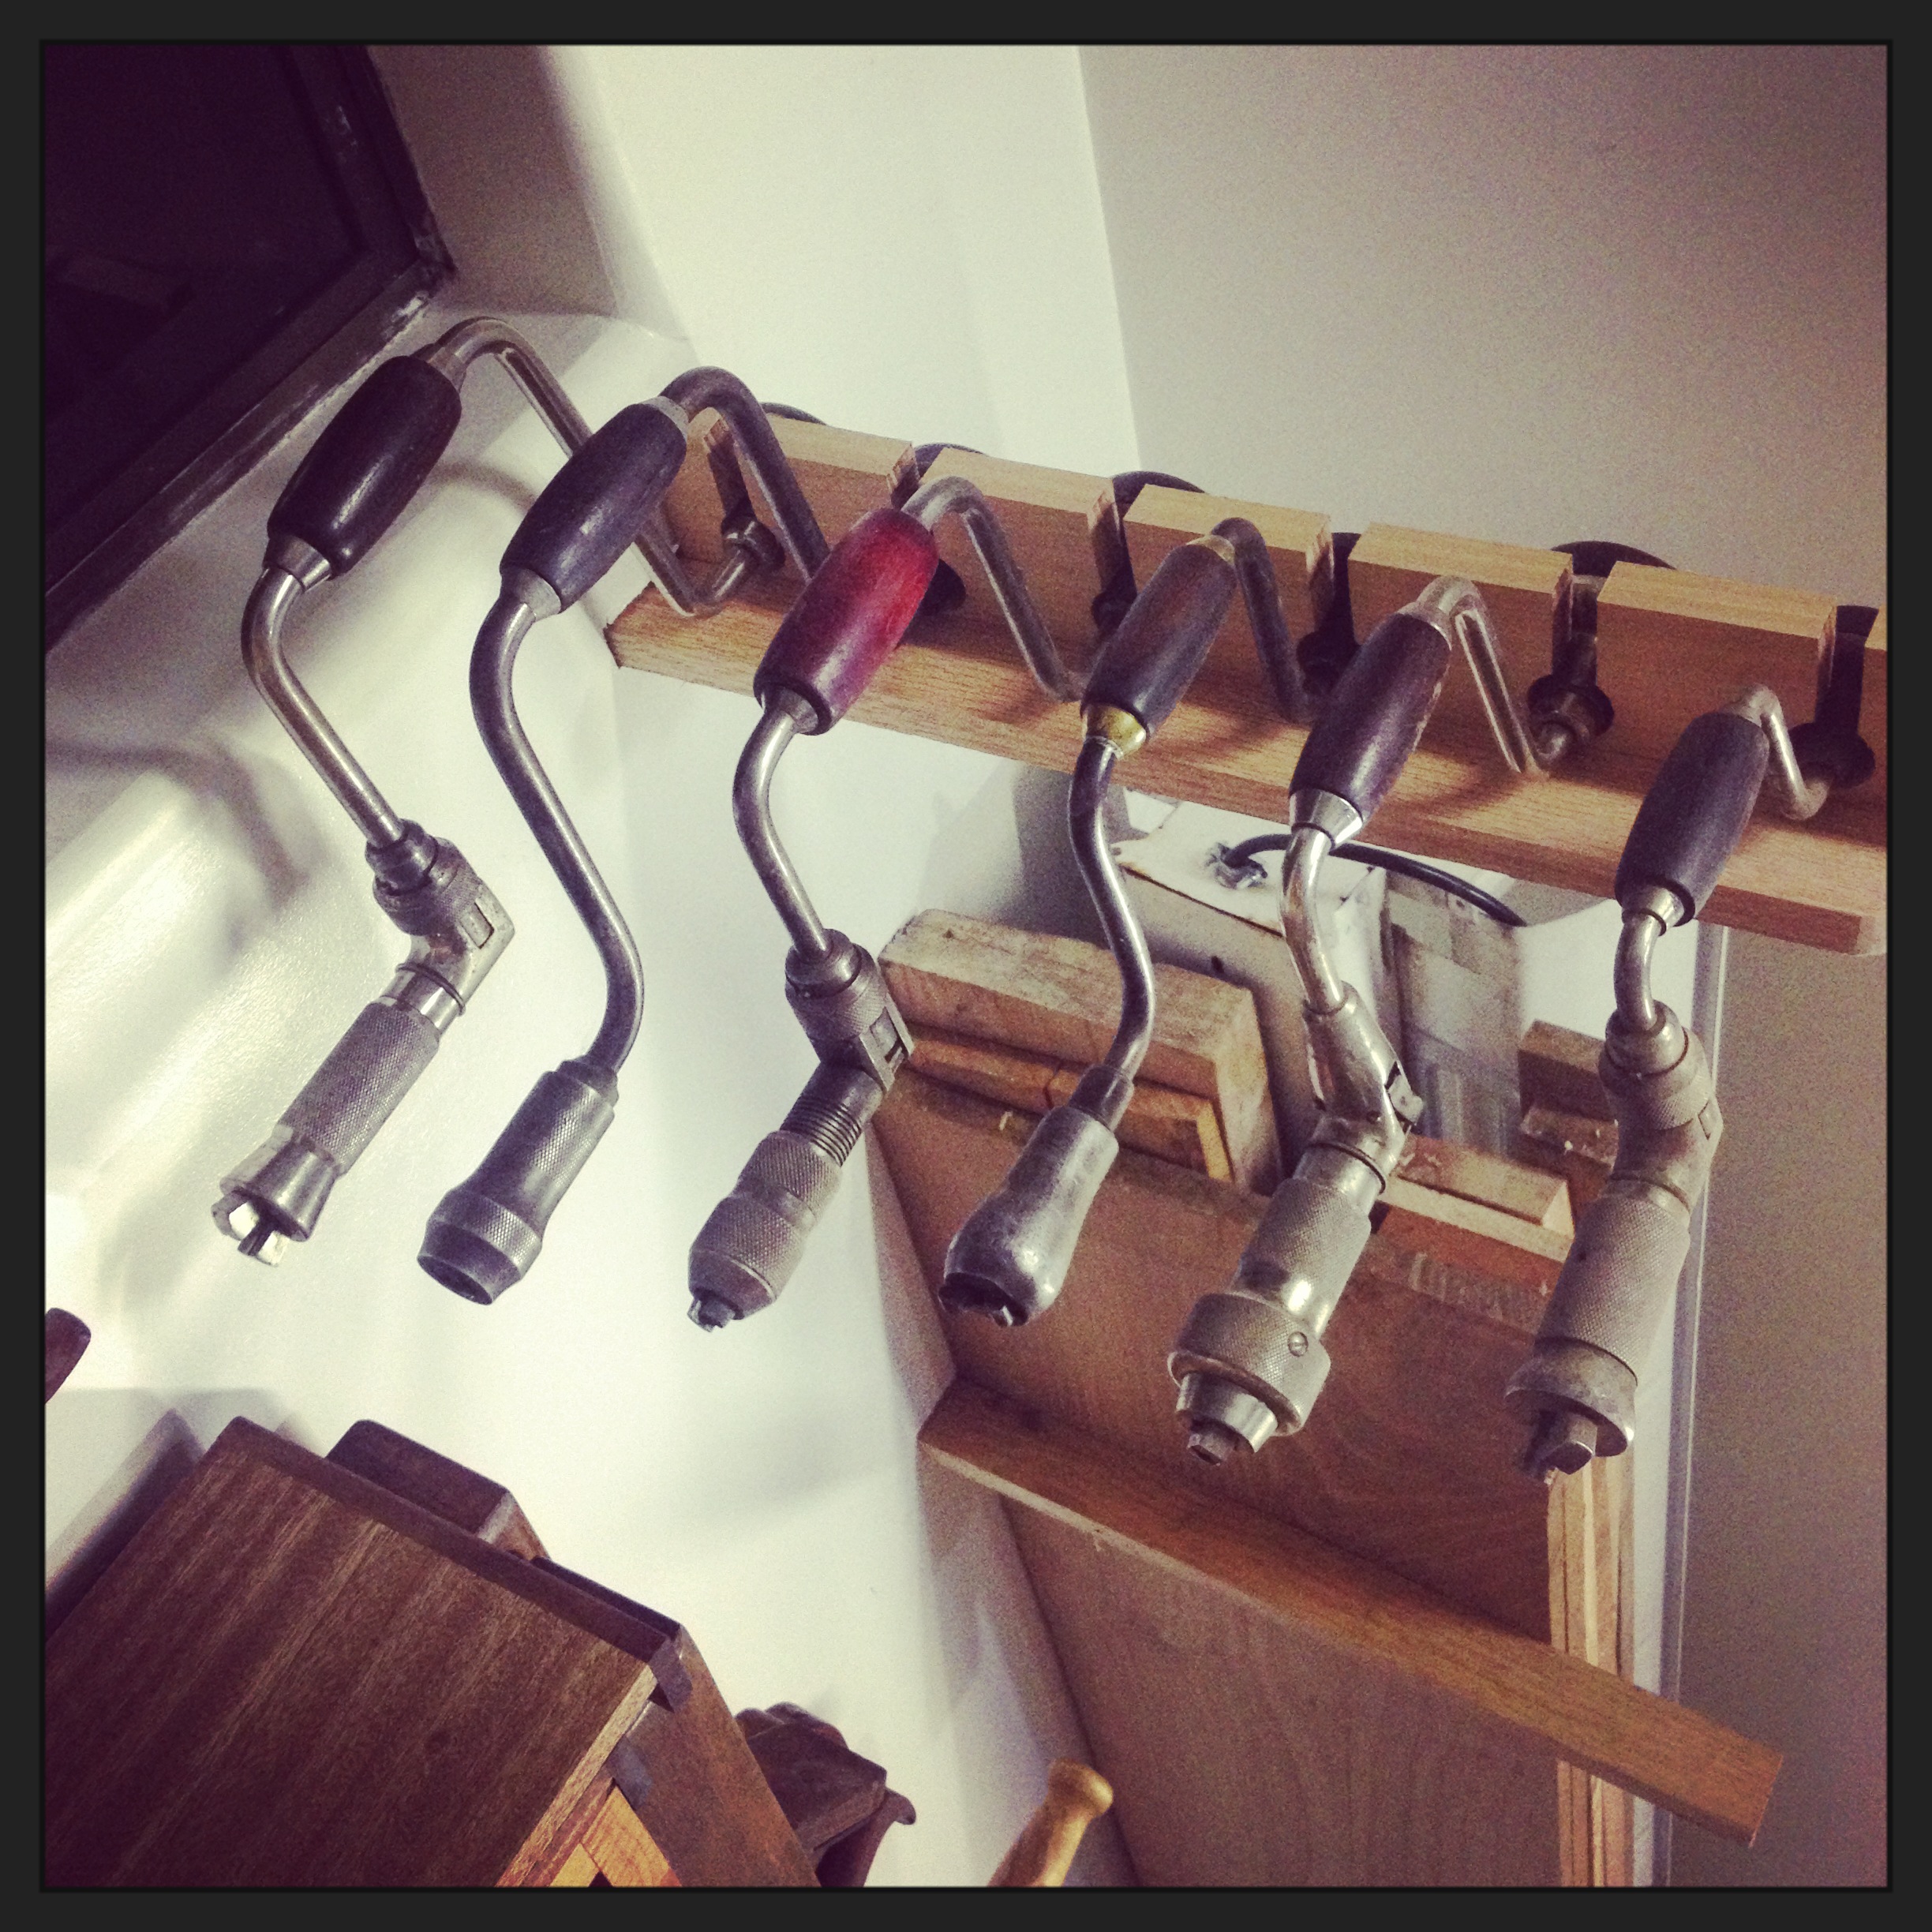
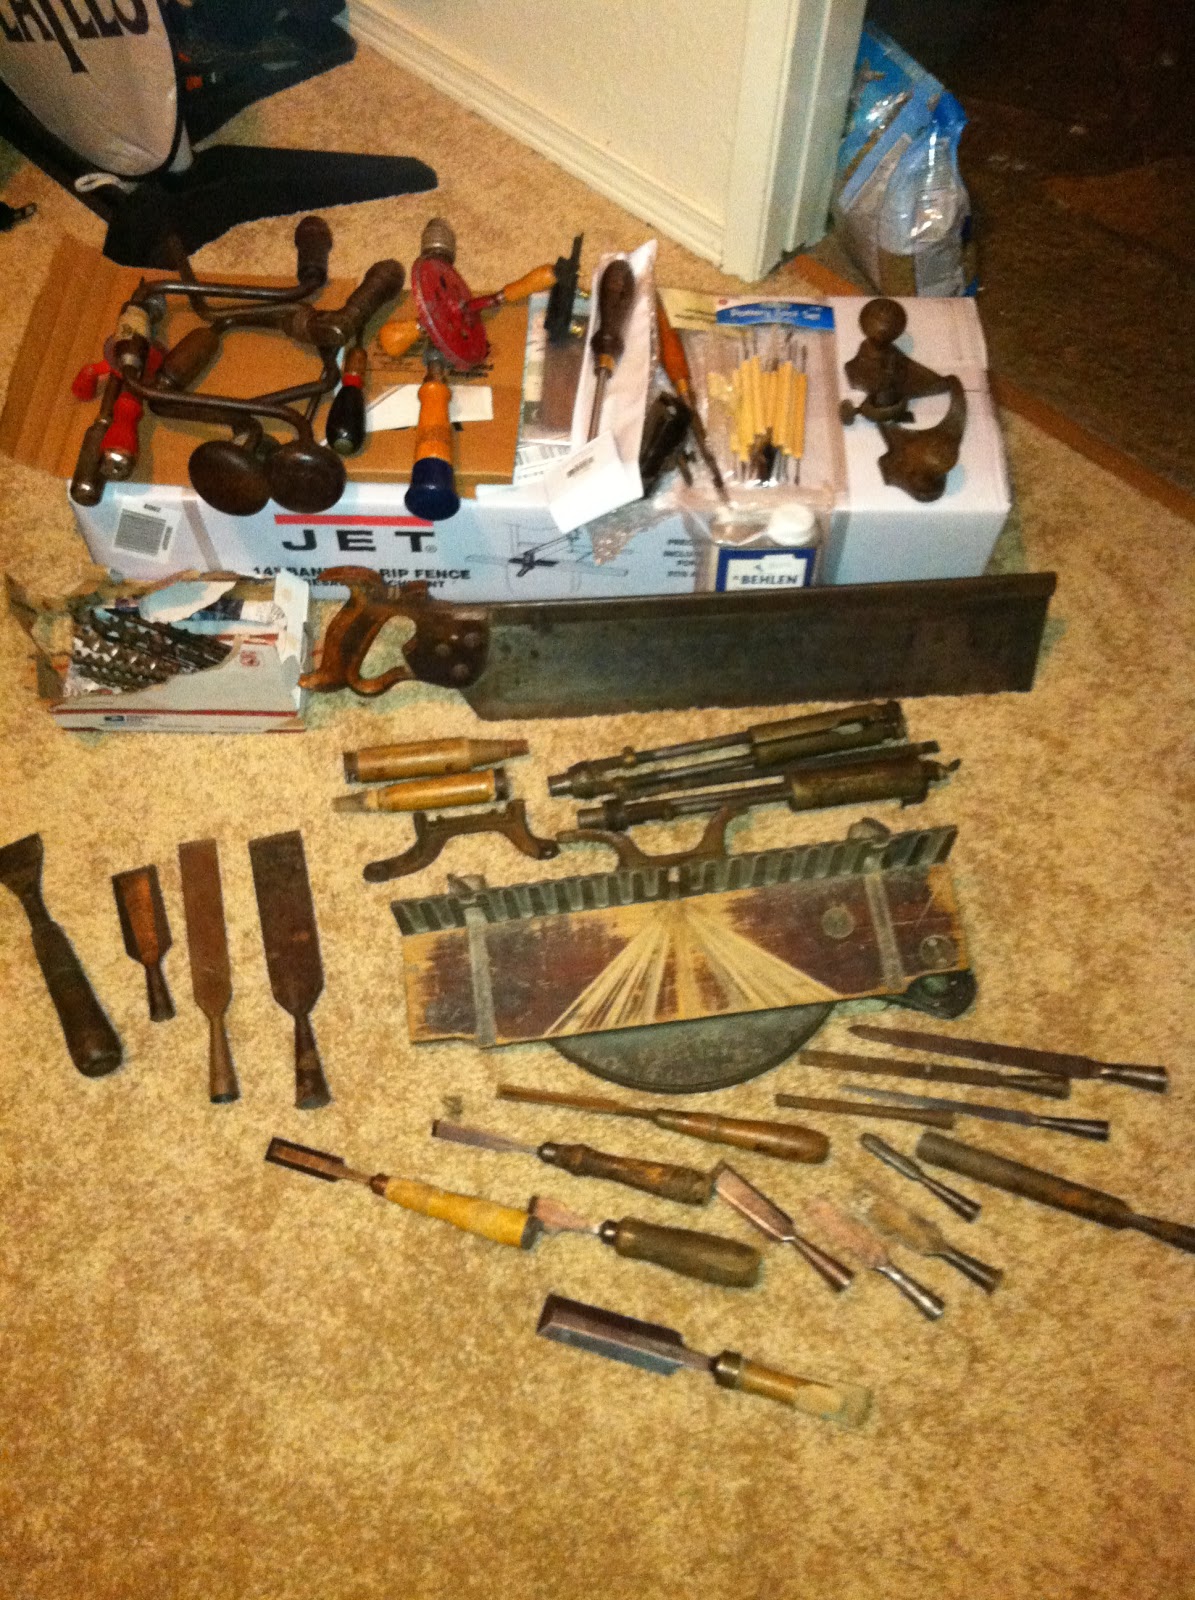
I got most of my basic tool set in one big lot on Ebay, and cleaned, sharpened, and rehandled around 150 blades of various kinds within a few weeks. It was a huge task but ended up being totally worth it because I had a TON of practice not only in restoration, but also in grinding and sharpening. I was taught to do both freehand which saved me a TON of time in the long run. If you don't already do this and have some items which you wouldn't mind grinding down a bit, I would highly recommend giving freehand grinding and sharpening a shot.
Removing Rust from Tools
Materials Needed
Dish Soap
Water
Nylon Abrasive Pad (Do not use metal!)
Disposable Gloves
Citric Acid or White Vinegar
Receptacle large enough to submerge the tools completely. This can be a bowl, plastic bin, old baking dish, bucket, etc.
Paper Towels
Mineral Oil or Citrus Wax Cleaner
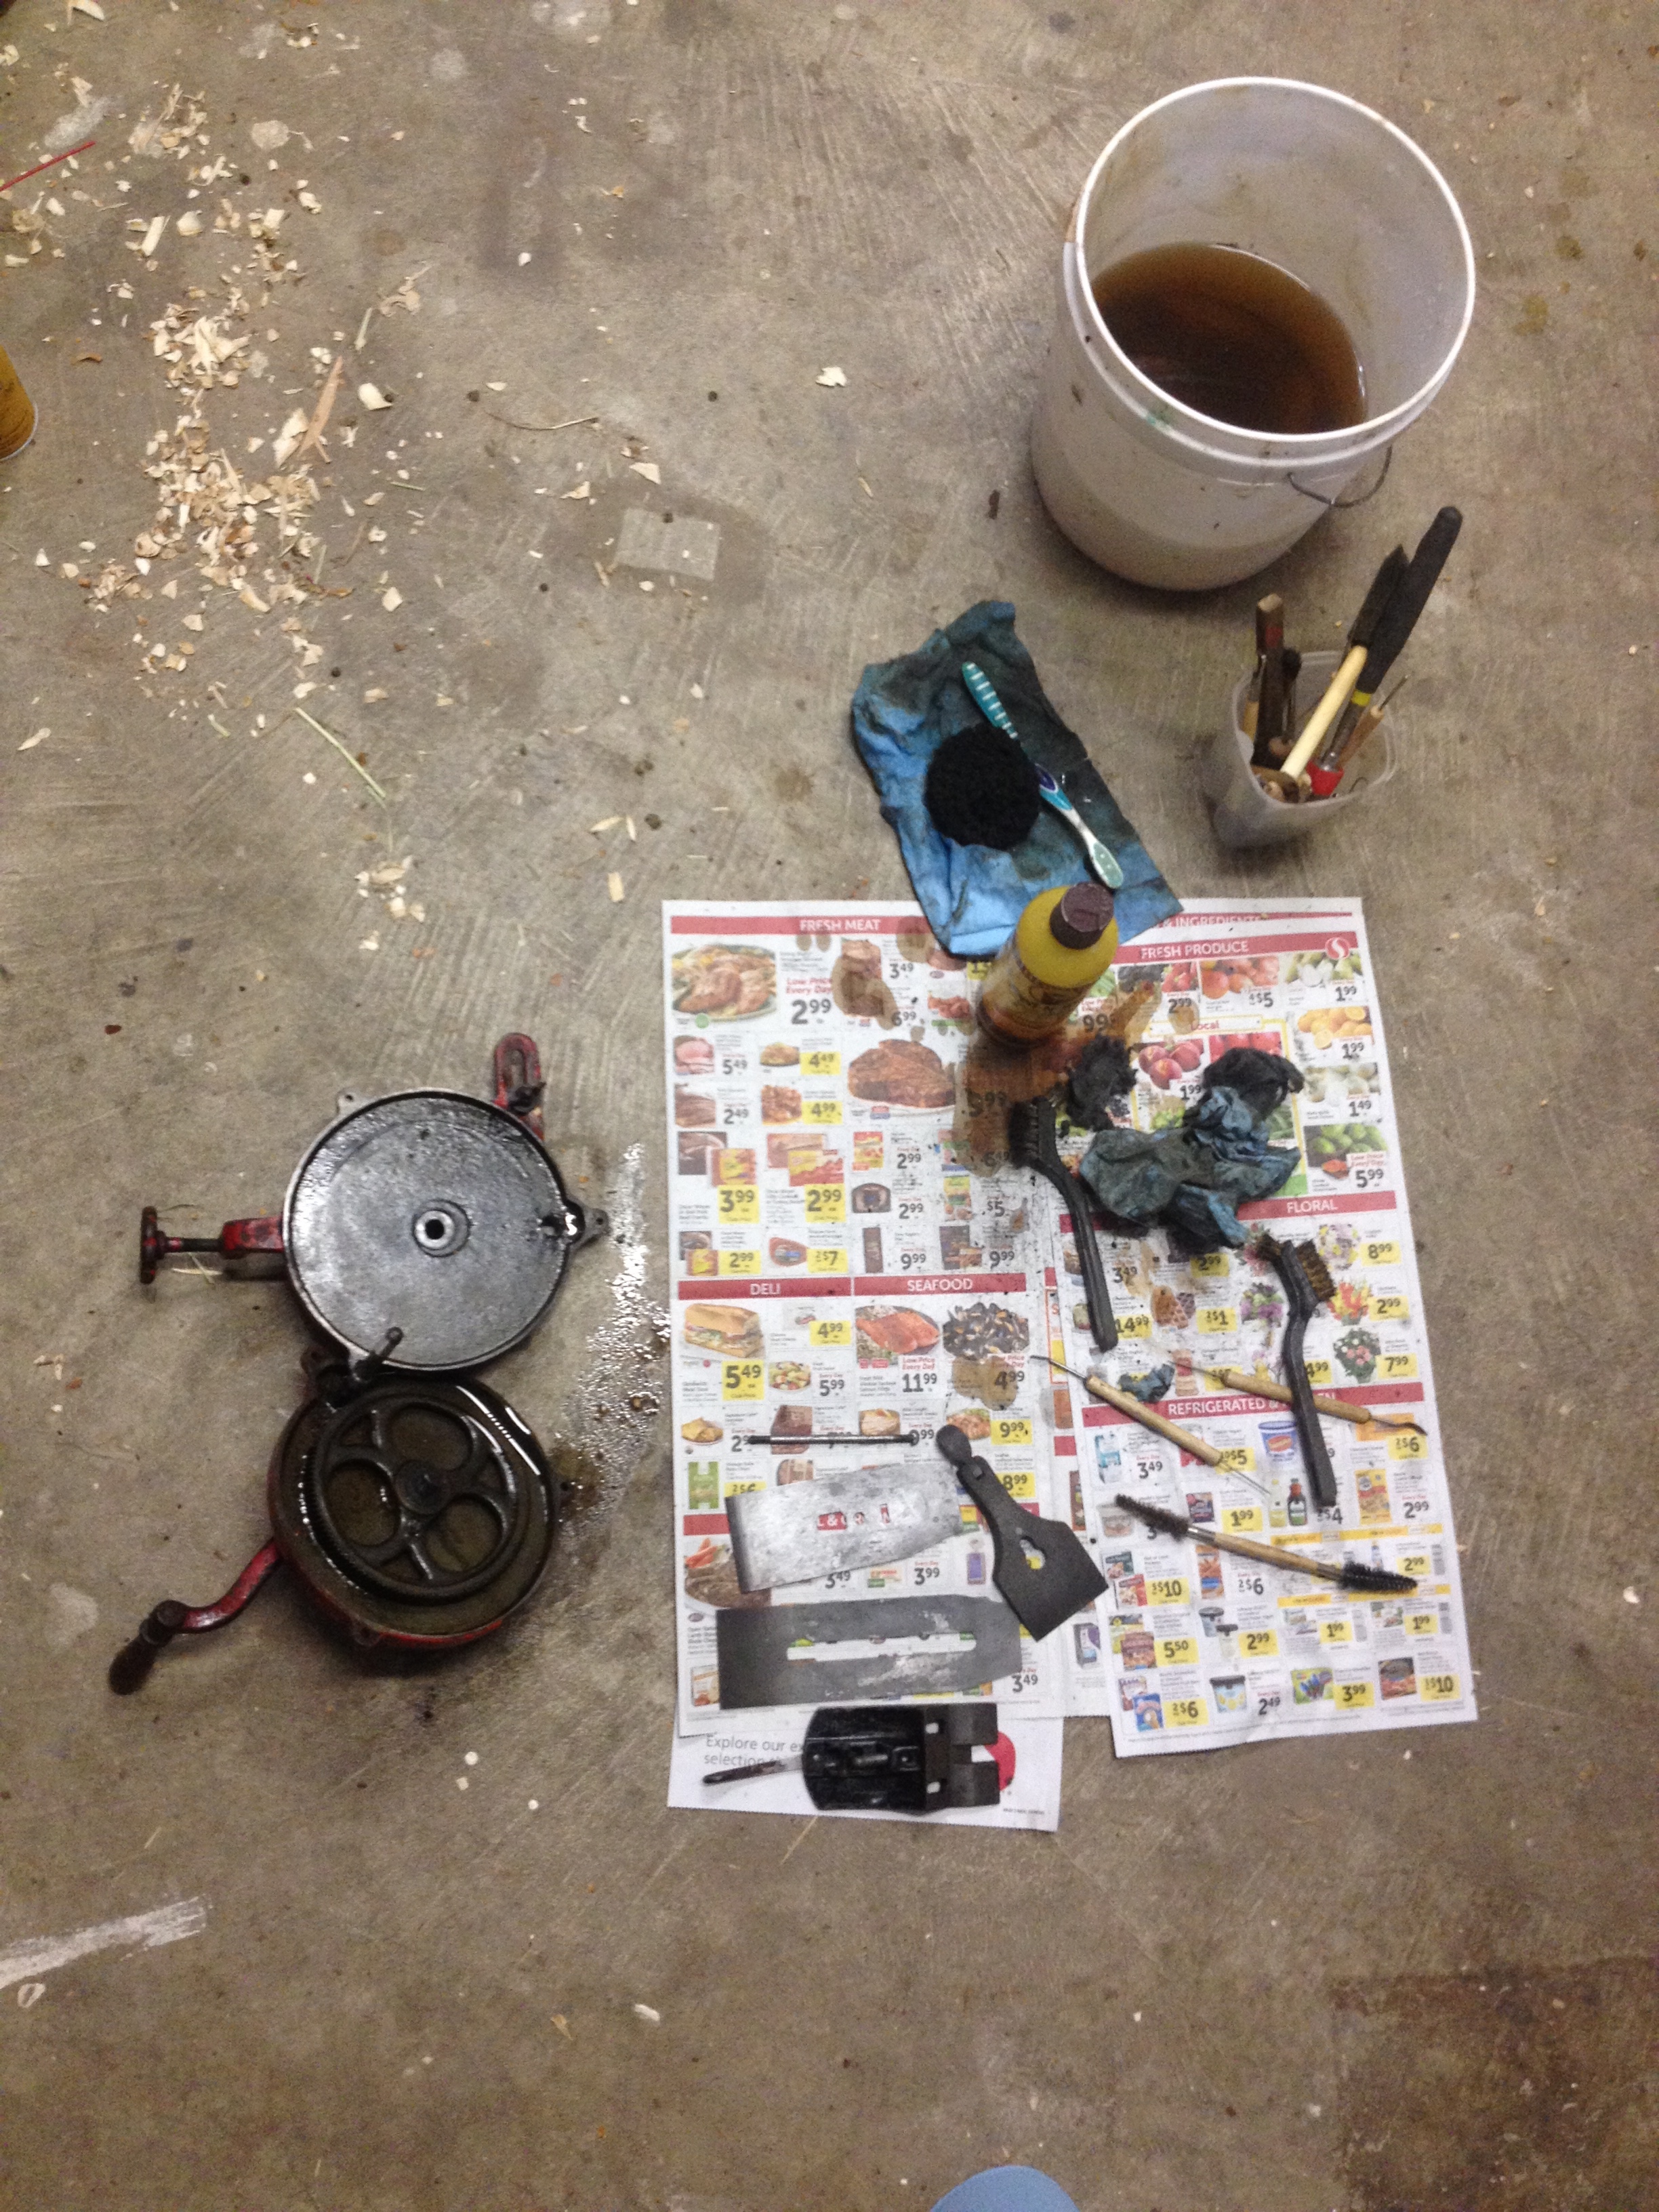
Various cleaning tools such as nylon brushes, old toothbrushes, 0000 steel wool, brass brushes or Q-tips will vary depending on the cracks and crevices, the condition, and the type of tool you are cleaning. At one point, I even used a dentist's toolset I got for $12 on Amazon.
Paste Wax or Boeshield
Hornby’s Citrus Wax Cleaner
Step by Step Cleaning Instructions
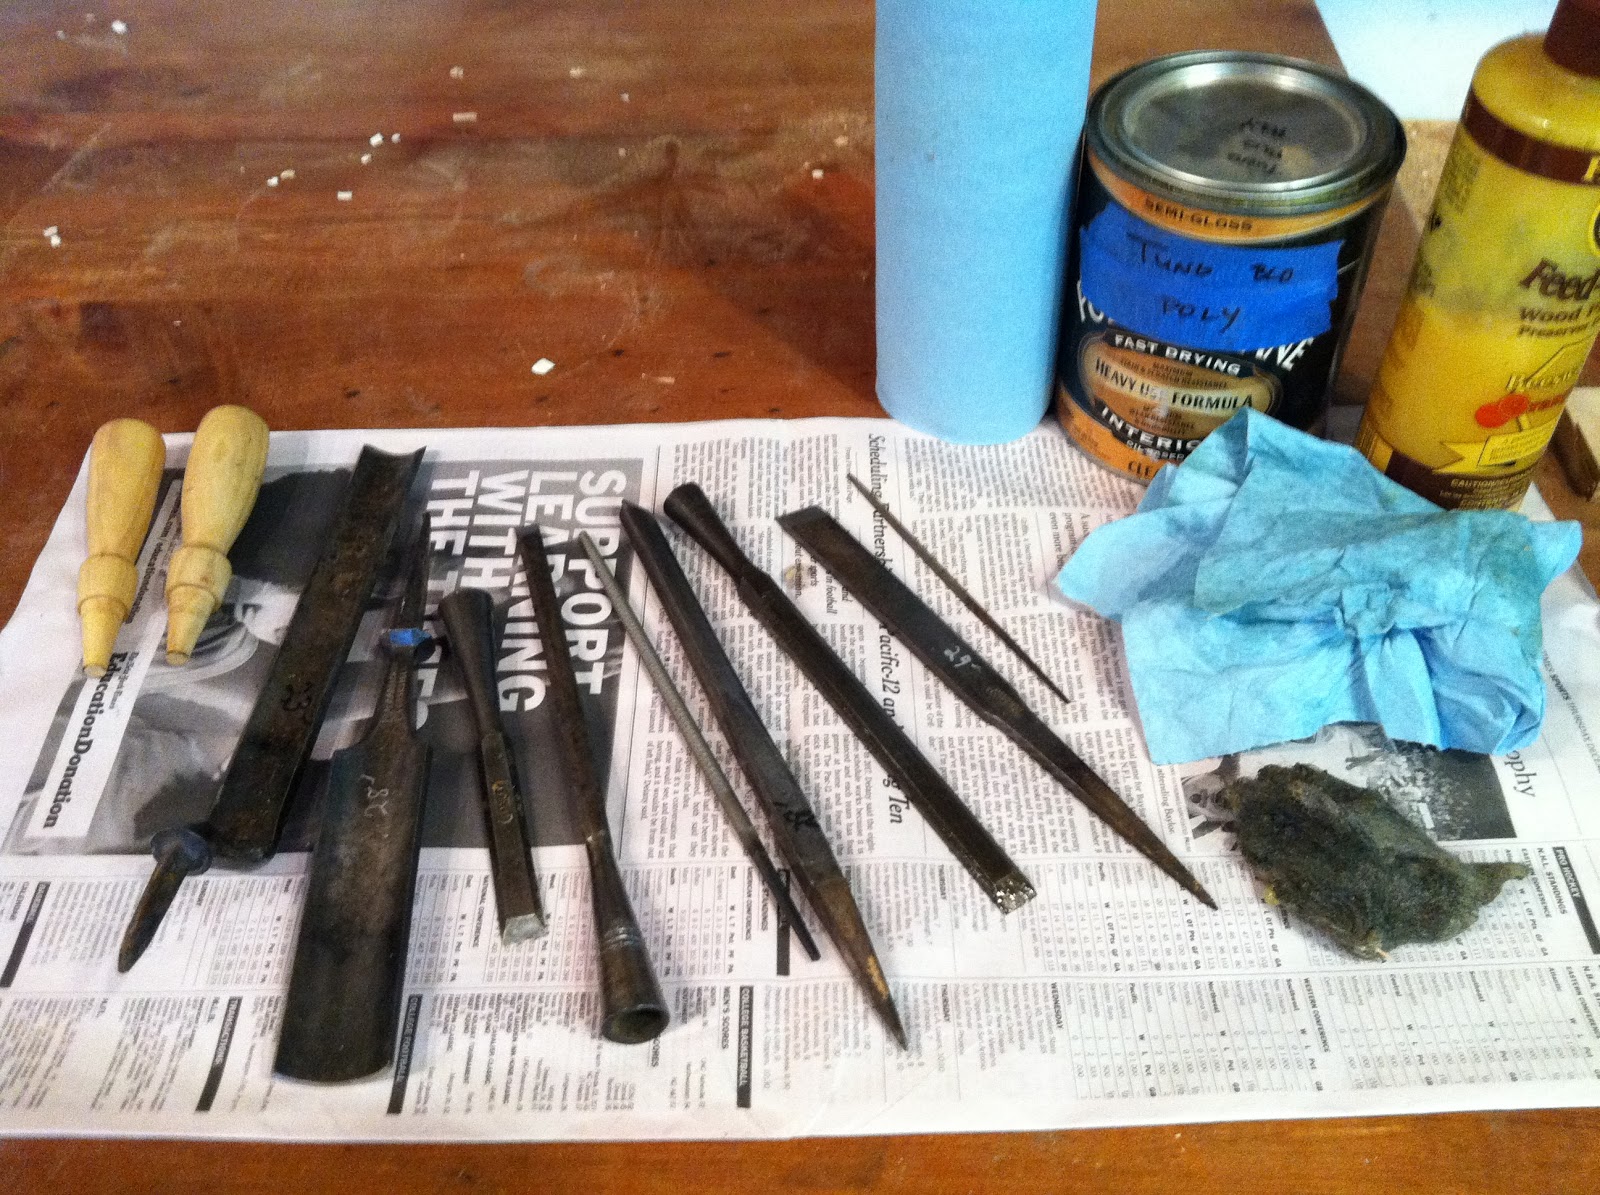
The next two steps involve water and acid, both of which have potential to damage wooden handles and other wooden parts of your tool, so remove them if you can. If you can't, try to keep them away from the water and definitely keep them away from the acid, or it will oxidize the wood and turn it black.
Using dish soap, water, and an abrasive pad, try to get as much of the loose dirt off as possible. If the piece is especially grimy, an overnight soak might help get some of the gunk off.
One by one rinse the tools, dry the pieces off well, and immediately either oil all parts or move on to the next step to immerse in the acid, or the metal surfaces will begin to rust.
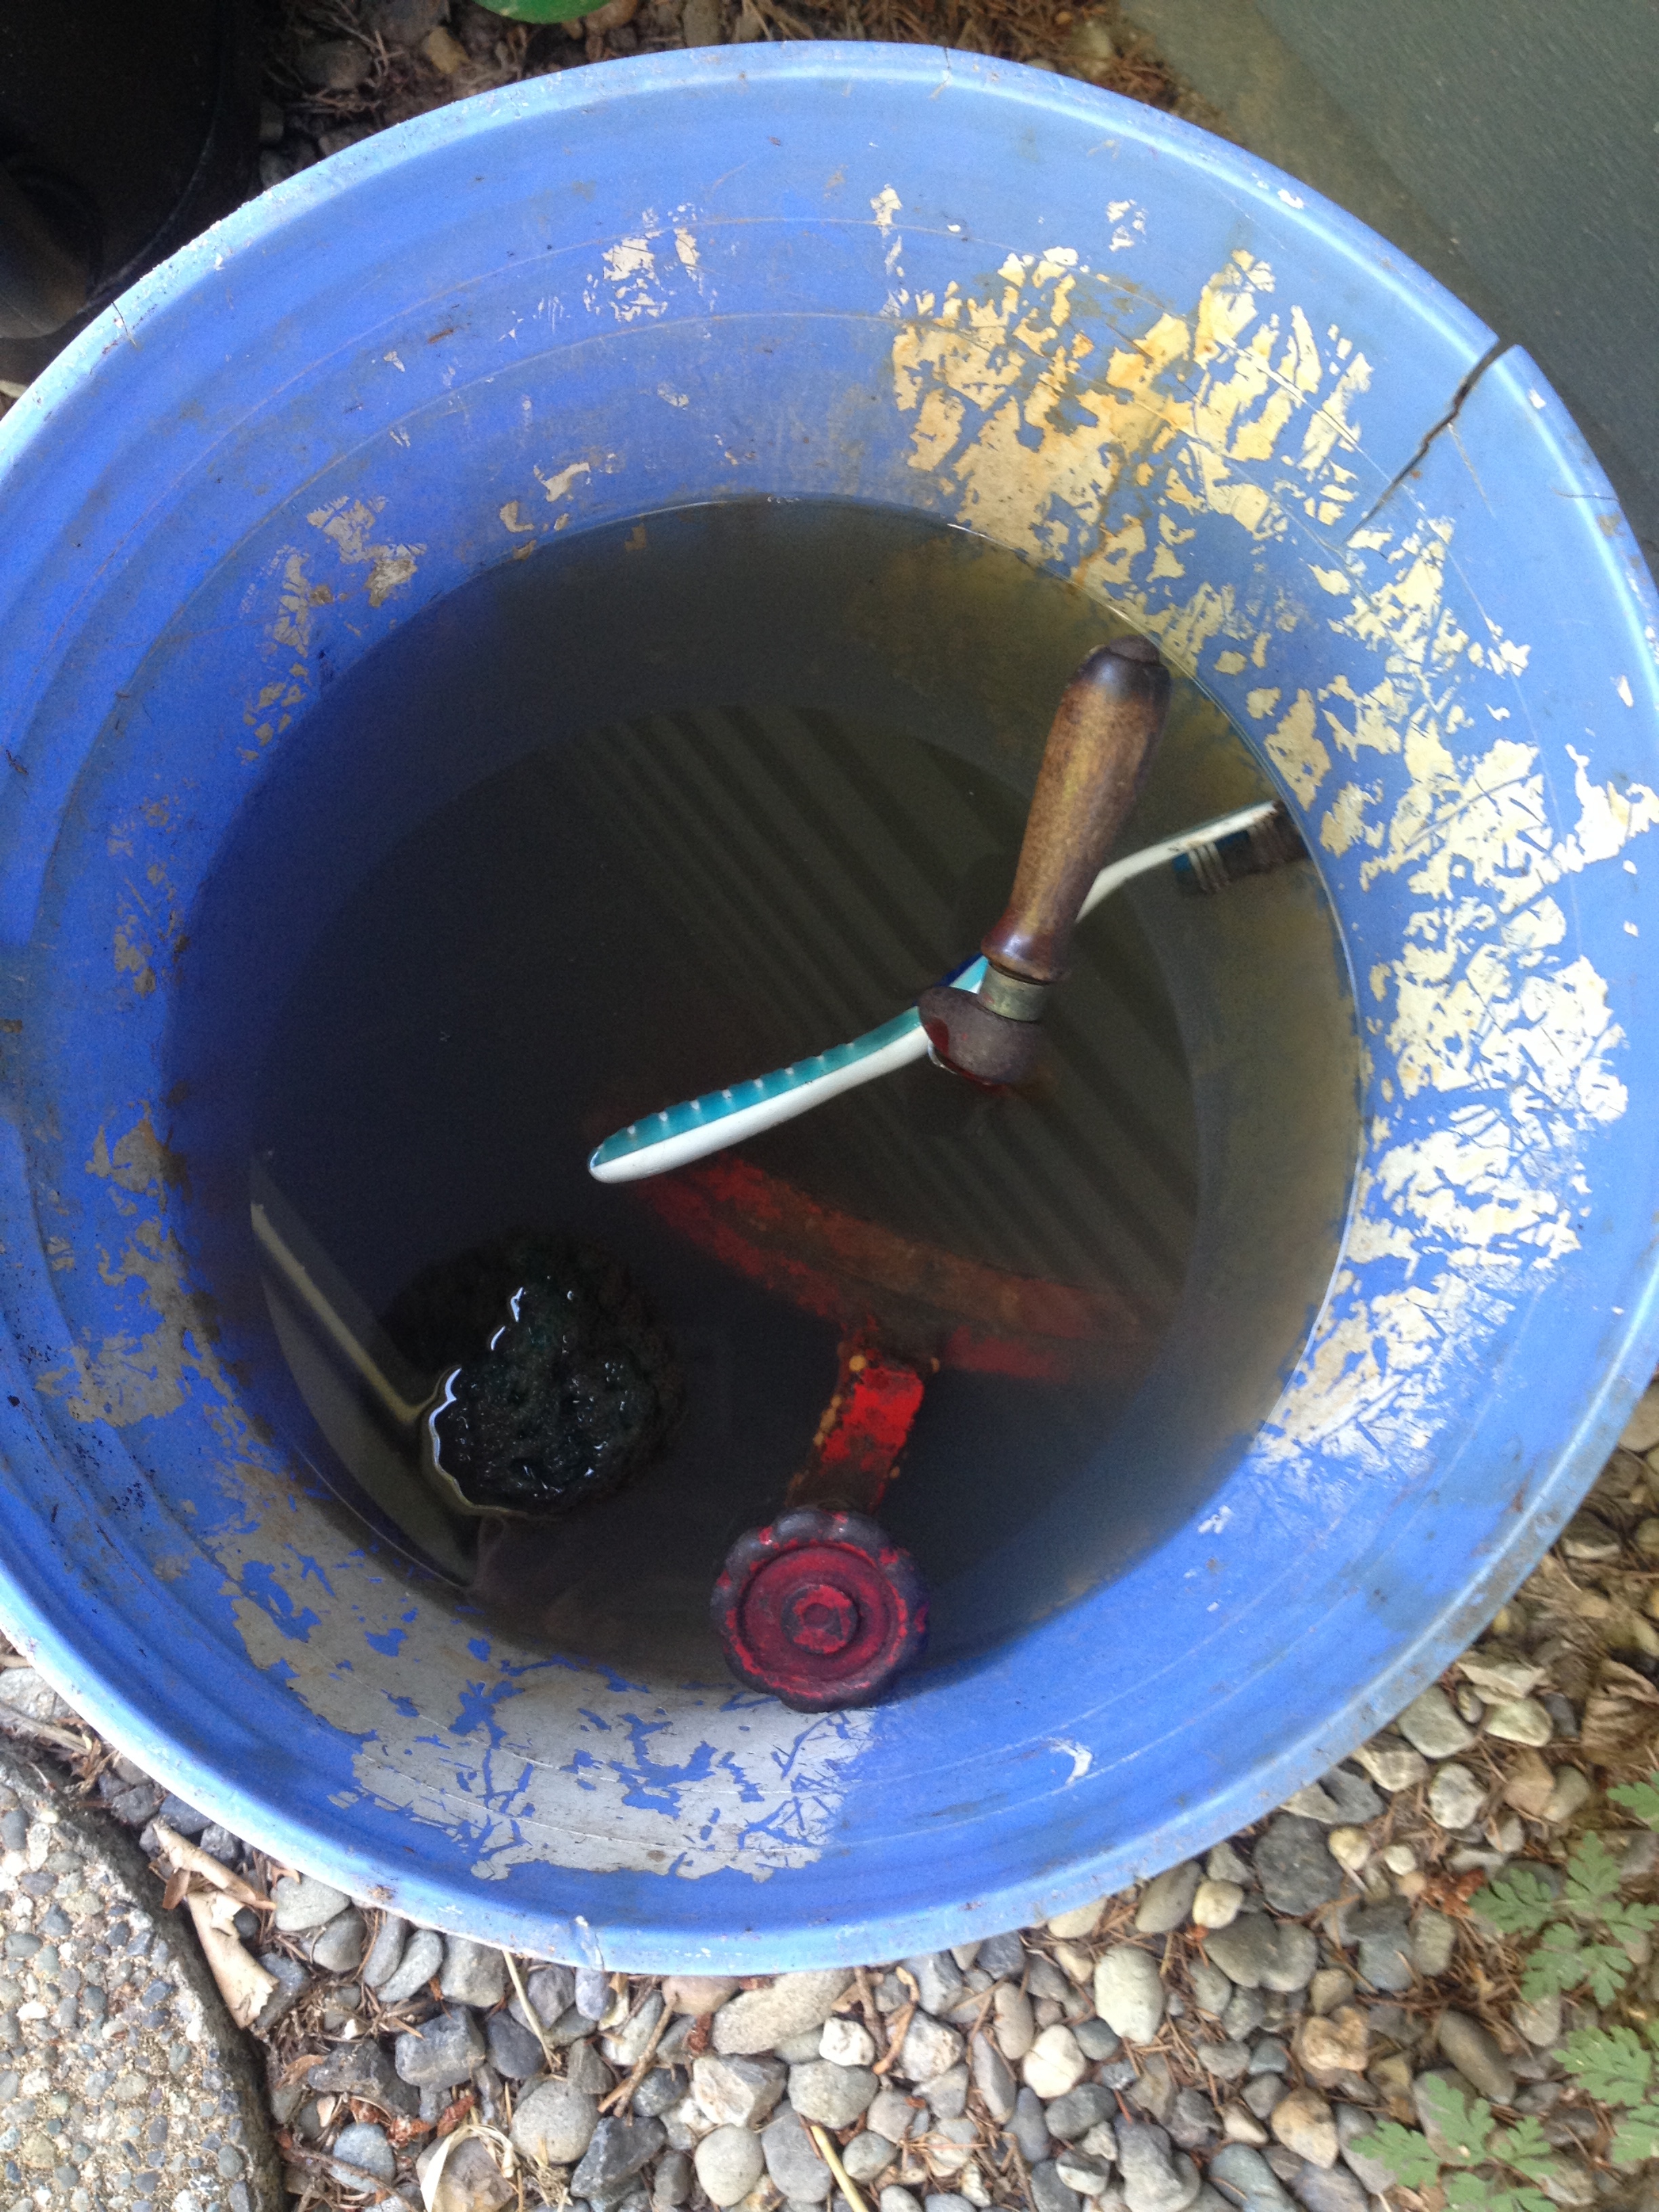
Fully immerse the tool in a mixture of 2 T. of citric acid to every 3 C. of water, or straight white vinegar. When using citric acid, you will notice a chemical reaction when you immerse the tool. Tiny bubbles will begin to float to the top indicating the acid is working on the rust.
Depending on how much rust there is, let soak anywhere from 20 minutes to 24 hours. Do not leave in the acid for longer than 48 hours. The acid will begin to eat the metal as well. Goggles and rubber gloves aren’t a must at this stage, but I have pretty sensitive skin, so I try to wear gloves through the whole process.
Every few hours, take the tools out of the acid starting with the thinnest, smallest pieces and examine the progress. A few wipes with a towel will let you know how much of the rust is gone. I have found it is always better to "undercook" rather than "overcook" at this stage because early on I literally dissolved a few sets of calipers I was trying to restore. Not funny at the time; very funny now.
When you are satisfied with the work the acid has done on your behalf, take the metal parts out, one by one and finish removing any remaining spots of rust with the nylon abrasive pad. Rinse and dry them well with paper towels. Then immediately coat with oil, citrus wax cleaner, or anything that is going to stop them from beginning to "flash rust". Rust can develop literally within minutes after the tool is exposed to oxygen. I usually use mineral oil because it is so cheap.
Using a series of nylon brushes, old toothbrushes, Q-tips, and paper towels, finish the cleanup on the metal. Be very careful here to remove the dirt, grime, and rust, but nothing more. Especially on handplanes, you want to be very careful here to keep as much of the "Japanning" or black paint on the interior of the plane body and frog as possible. Using harsh metal brushes, sandpaper, or hastily using the dentist's tools here can scratch the metal's surface, remove the Japanning, and cause you all kinds of headaches later on. On the metal surfaces that don't have Japanning, I use 0000 steel wool and brass brushes liberally. The main purpose of this whole process is to remove rust that will endanger the lifetime of your tool.
When finished with the final cleaning, unless it's a handplane, generously oil the tool, coat with paste wax or Boeshield (my favorite rust prevention product), and reassemble. Instructions for hand plane to follow below.
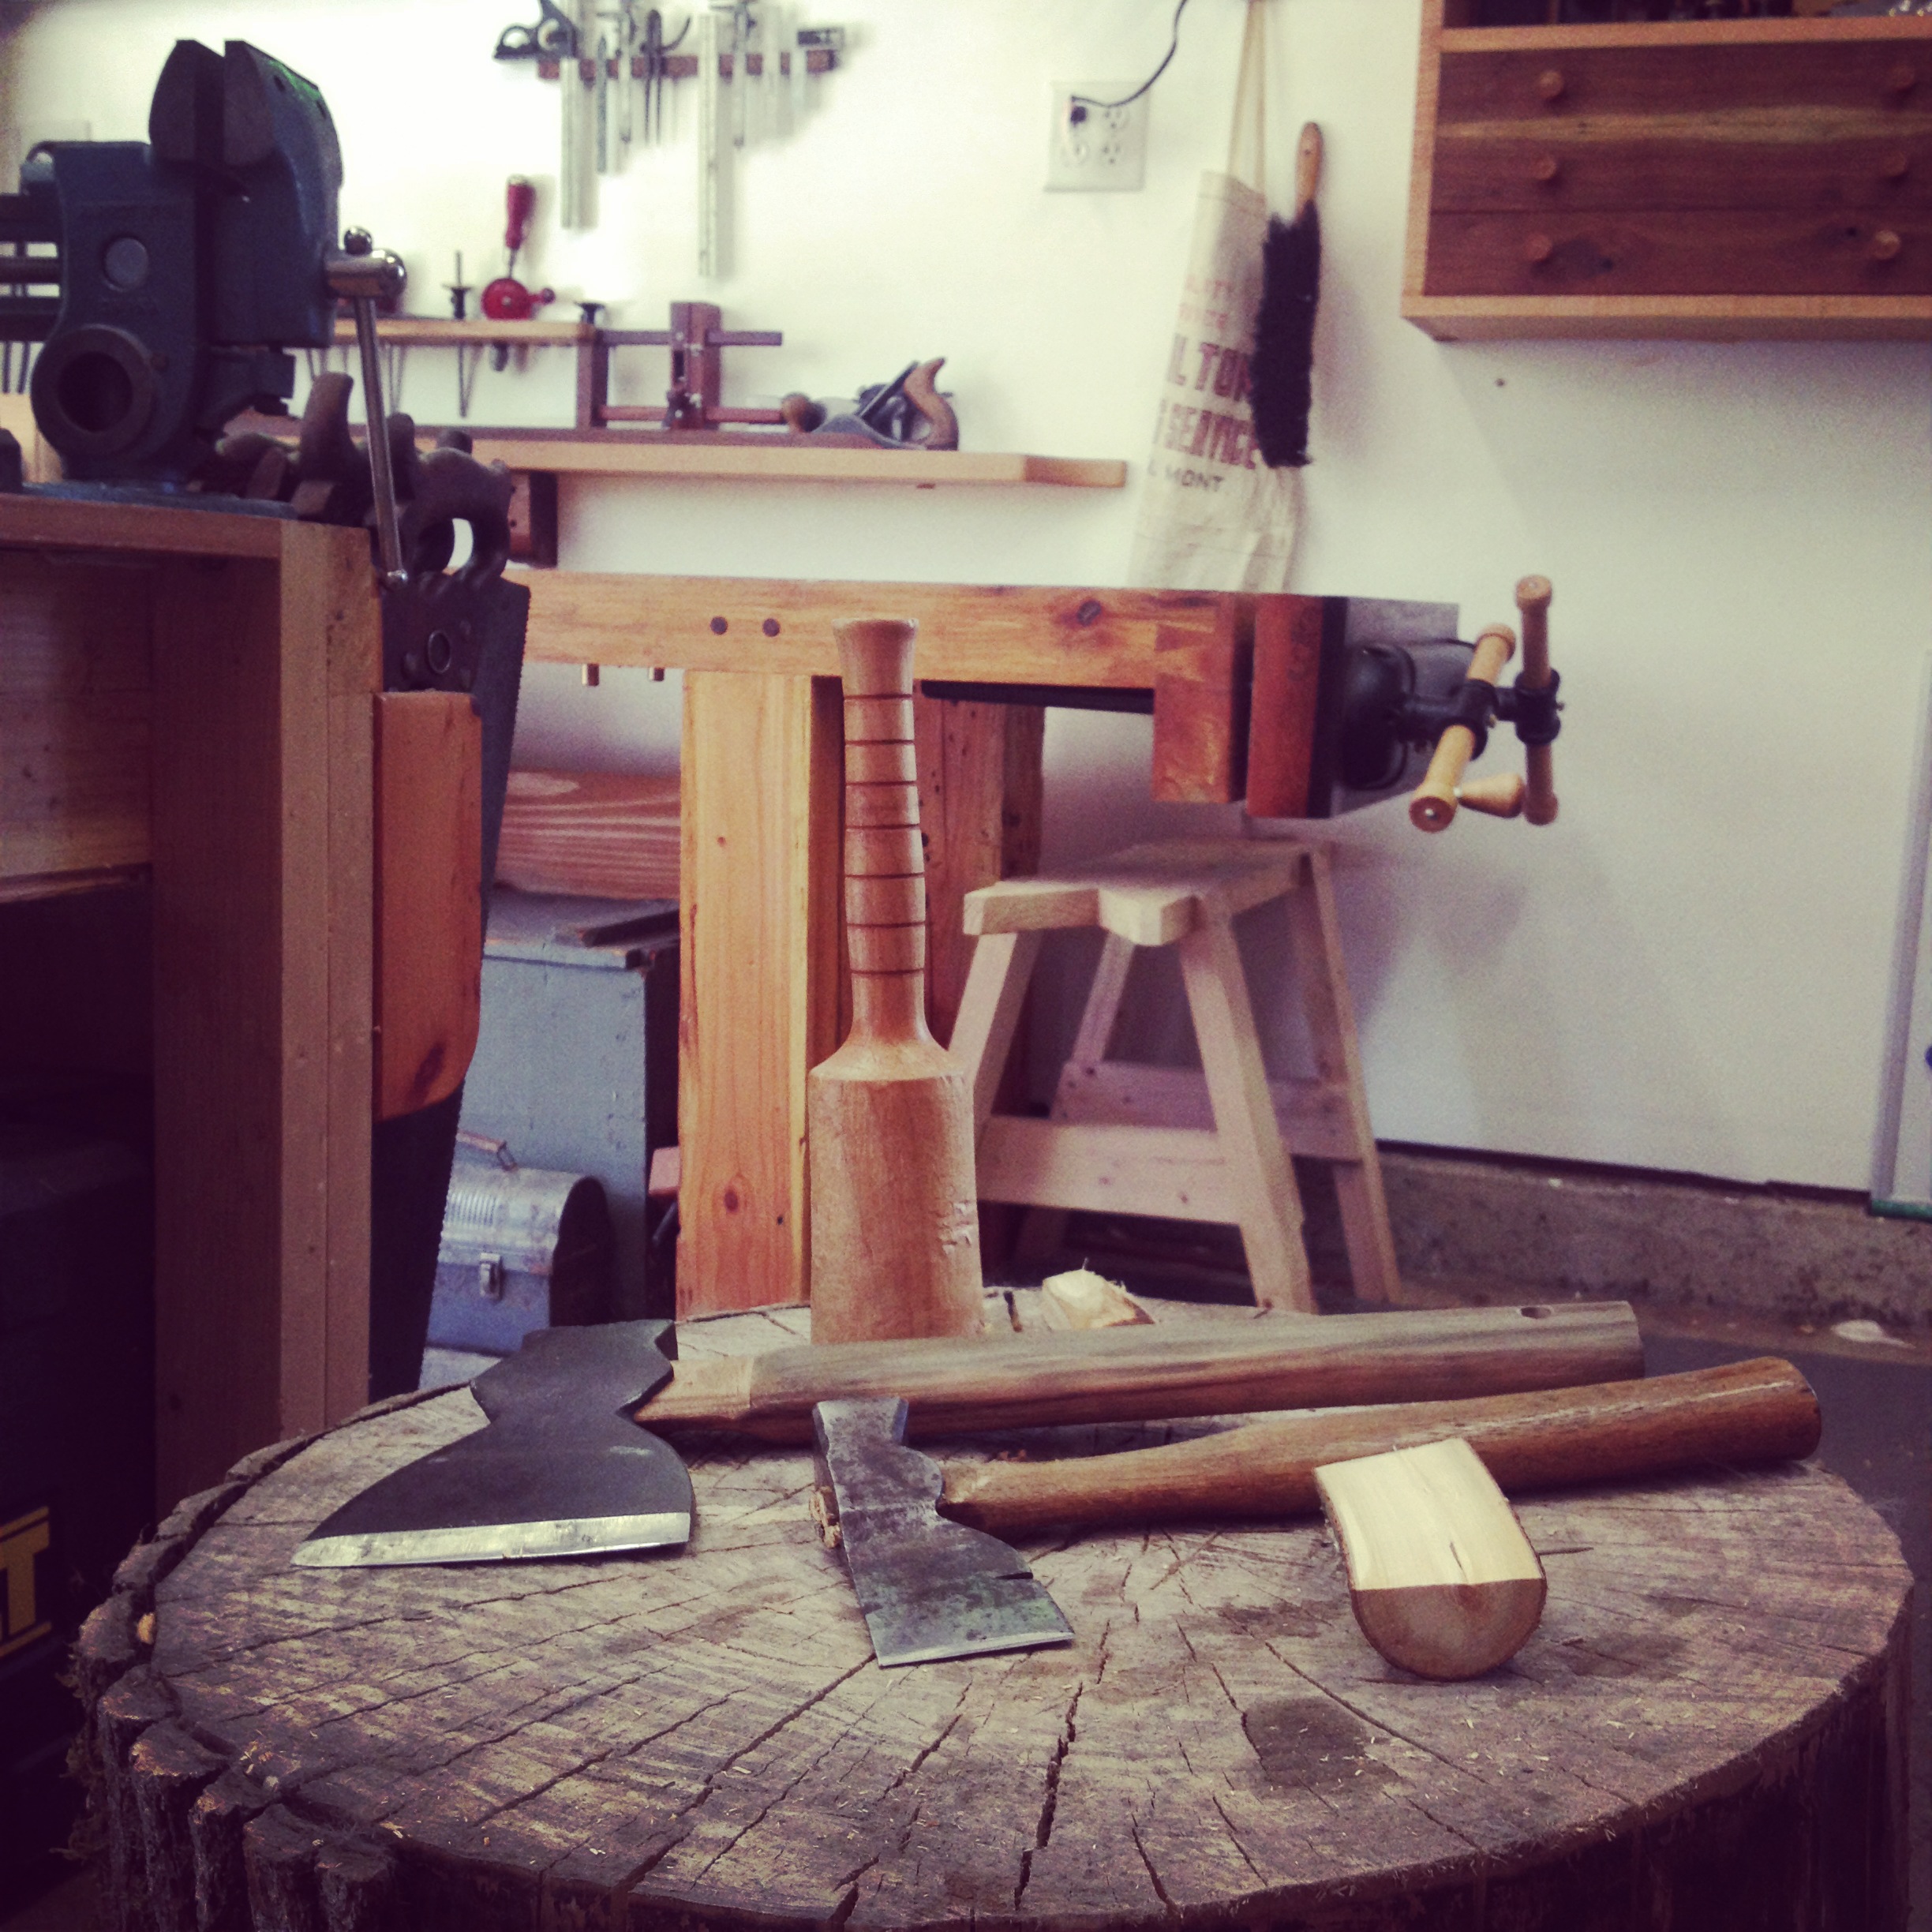
If the wooden components are not damaged or in especially rough shape, I like to leave them how they are. If they need to be replaced, you can follow the instructions in How to Make & Hang an Axe Handle. Otherwise, remove old paint and other grime by carefully rubbing the tool with 0000 steel wool and Hornsby's Citrus Wax Cleaner. A lot of times an overnight soak in oil followed by a coat of paste wax applied with 0000 steel wool will do wonders to brighten them up and make them really pop again.

Final Steps for Handplanes
Materials Needed
Spray Glue
150-400 Grit Sandpaper
Boesheild
3 in 1
Belt Sander or Dremel
Black Sharpie Pen
Paper Towels
Tack Cloth
Jojoba Oil or Mineral Oil
Hand Plane Restoration Step by Step Instructions
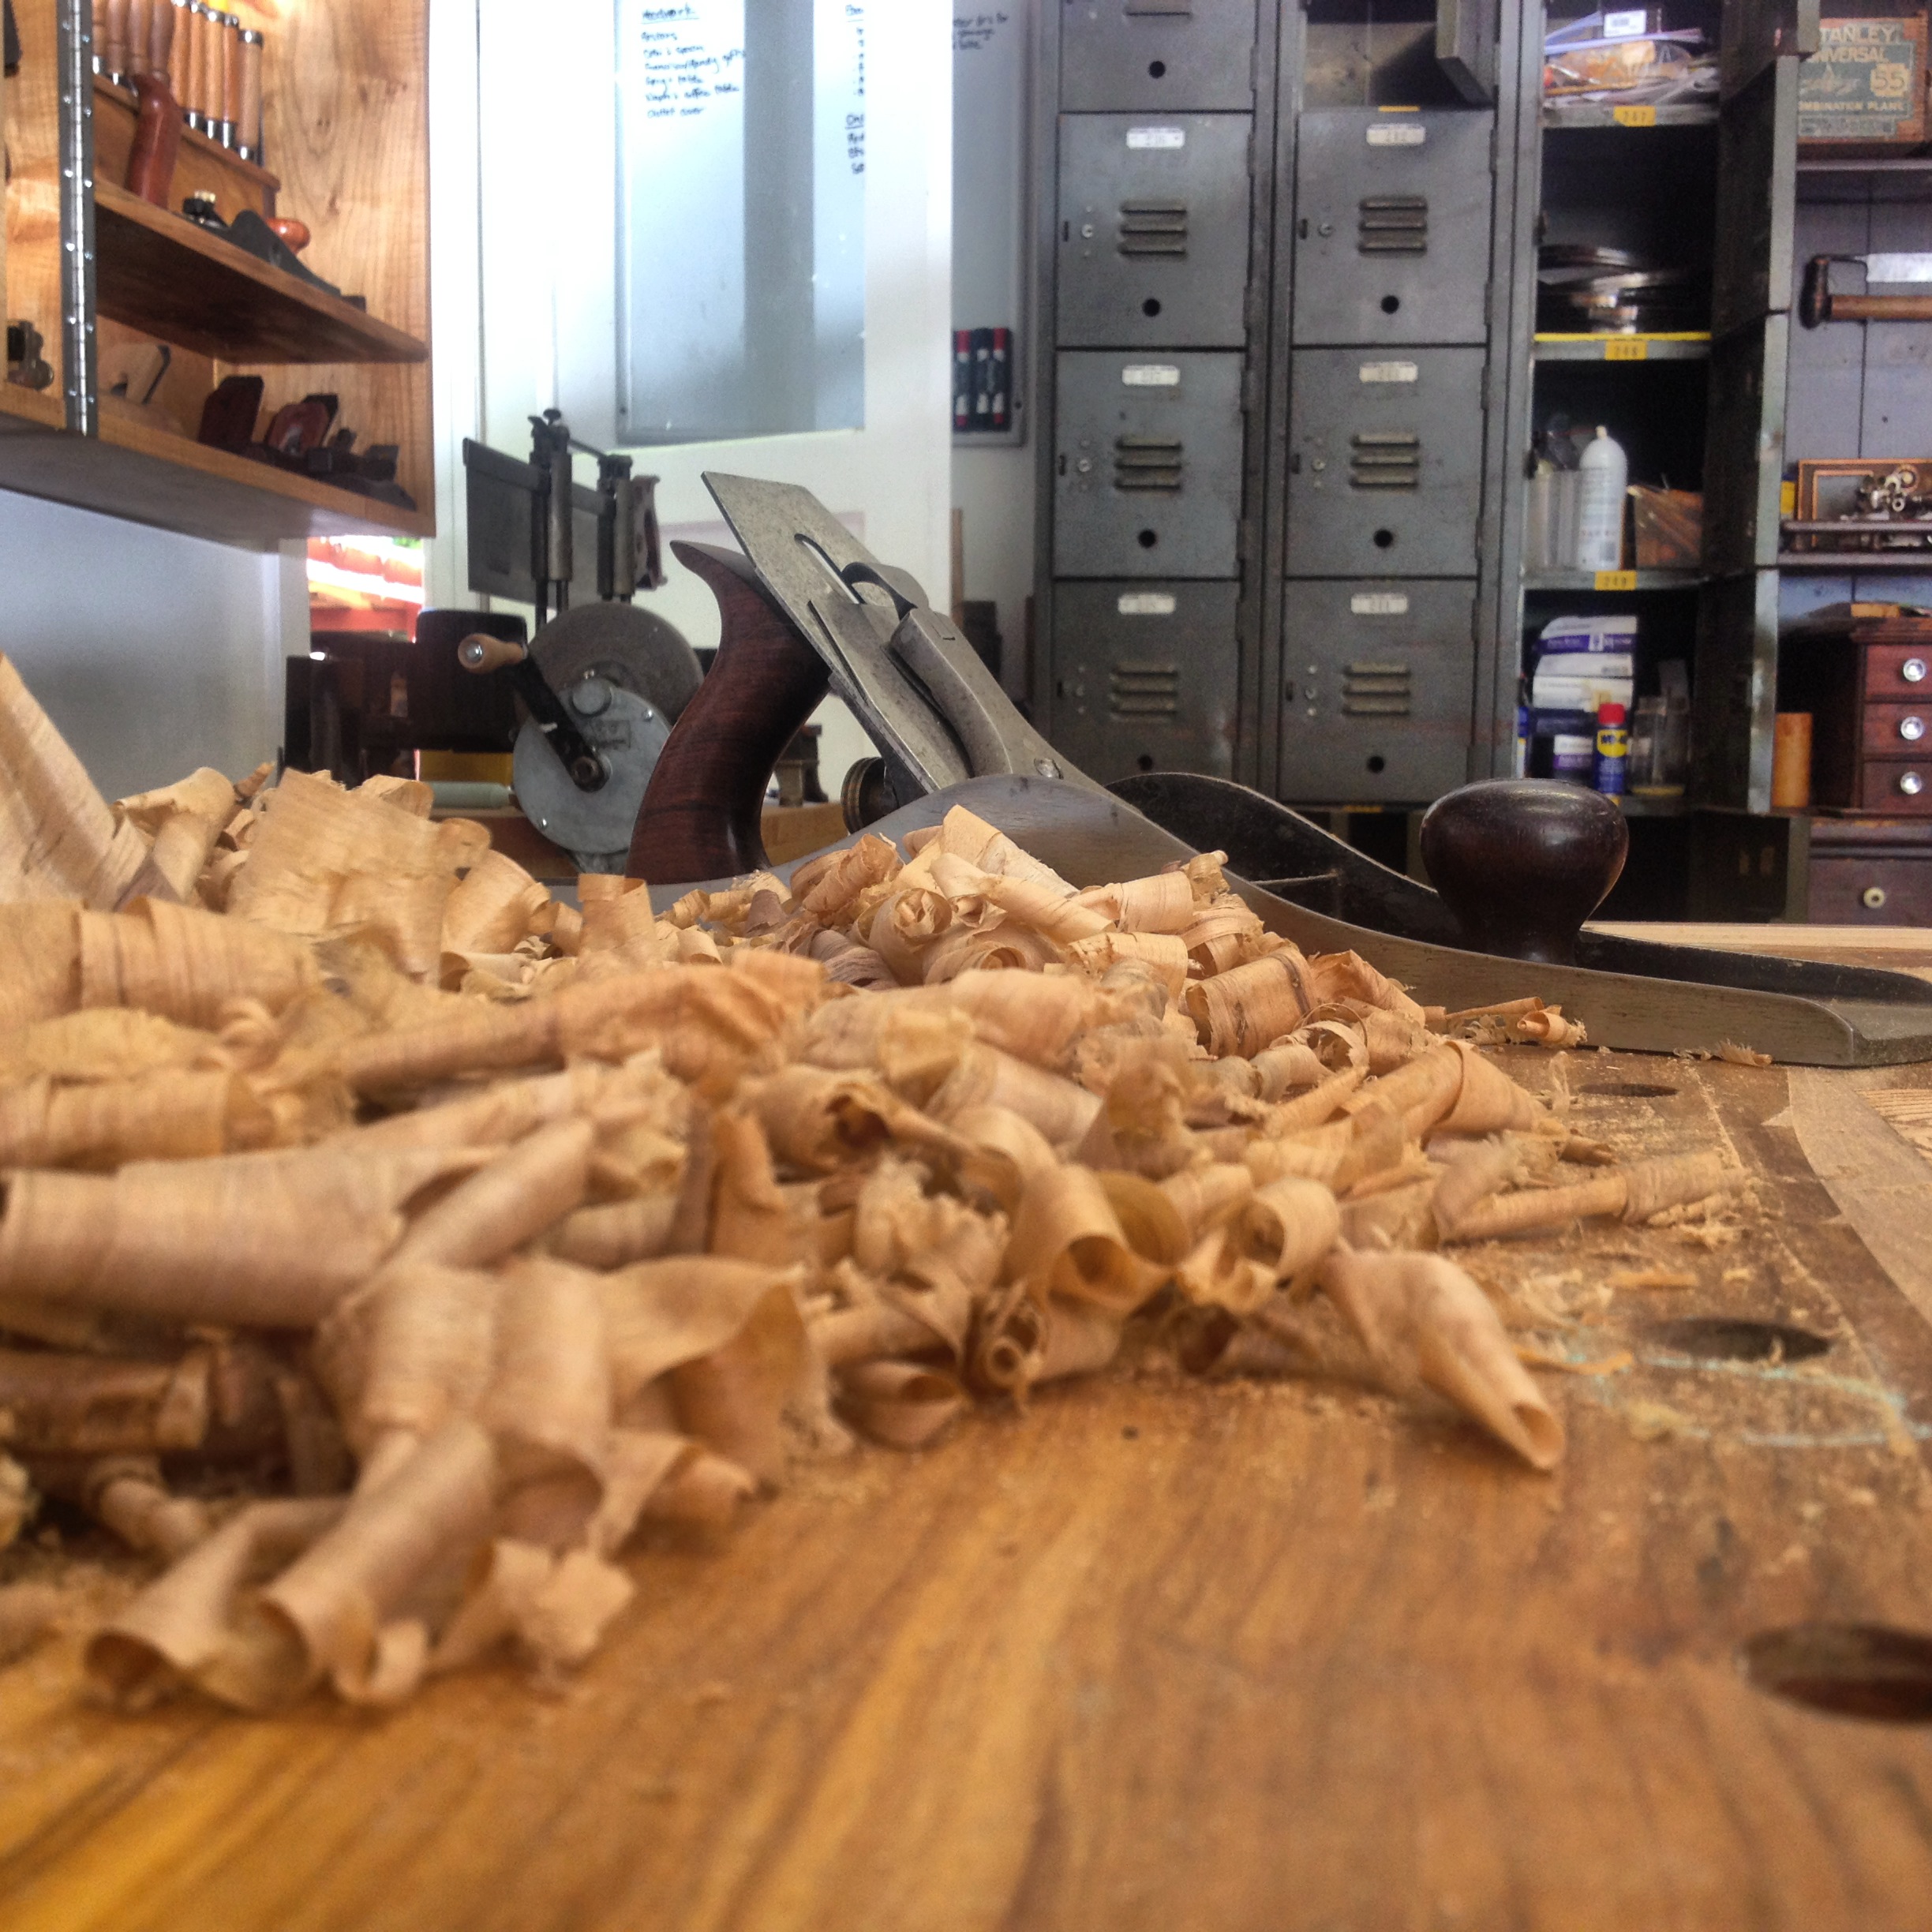
Handplanes need to be dead flat on their bottoms and sides to work properly. There are many ways of doing this, but I start by reassembling the plane and making sure the blade is recessed all the way into the body of the plane, not protruding from the bottom at all.
Next use spray glue and sheets of sandpaper pasted to granite or melamine, and begin planing across the sandpaper with the tool as if you are working wood. I like to start with 400 grit sandpaper because if the plane sole is already fairly flat, I won't have to work through the grits again to smooth out the scratches I made by starting with too low a grit. If a lot of metal needs to be removed, I will move down to 150 grit, plane until there is an even scratch pattern along the whole sole of the plane, or very nearly so, and then move up the grits to remove the scratches.
Repeat the process on the sides of the plane, and then take a few passes on the last grit with the plane tilted slightly to sand off the sharp corner edges.
Coat all metal parts in paste wax or spray with Boesheild.
The next step is to oil up the moving parts of the tool using 3 in 1 or your favorite oil, sharpen the blade, reassemble the tool, and test the plane out. This part has a few intricacies that would warrant another article- making sure the frog mounts squarely to the plane bed, making sure the chip breaker mates properly with the blade, scooching the frog forward or backward for fine or medium use, etc. etc. etc, but for the sake of this article, we are going to assume all of that stuff is working great. Also, sharpening is another article as well, and one I'm not anxious to write because there are so many methods and so many volumes already written about it that you basically need to just do some research, pick a method, learn it, practice it and stick to it. That said though, for your plane or chisel to work, the back of the blade needs to be dead flat, a straight bevel needs to be ground on the front, and the blade needs to be honed and stropped to whatever level you want to take it to. Flattening the blade back is actually relevant to this article, however, so here goes.
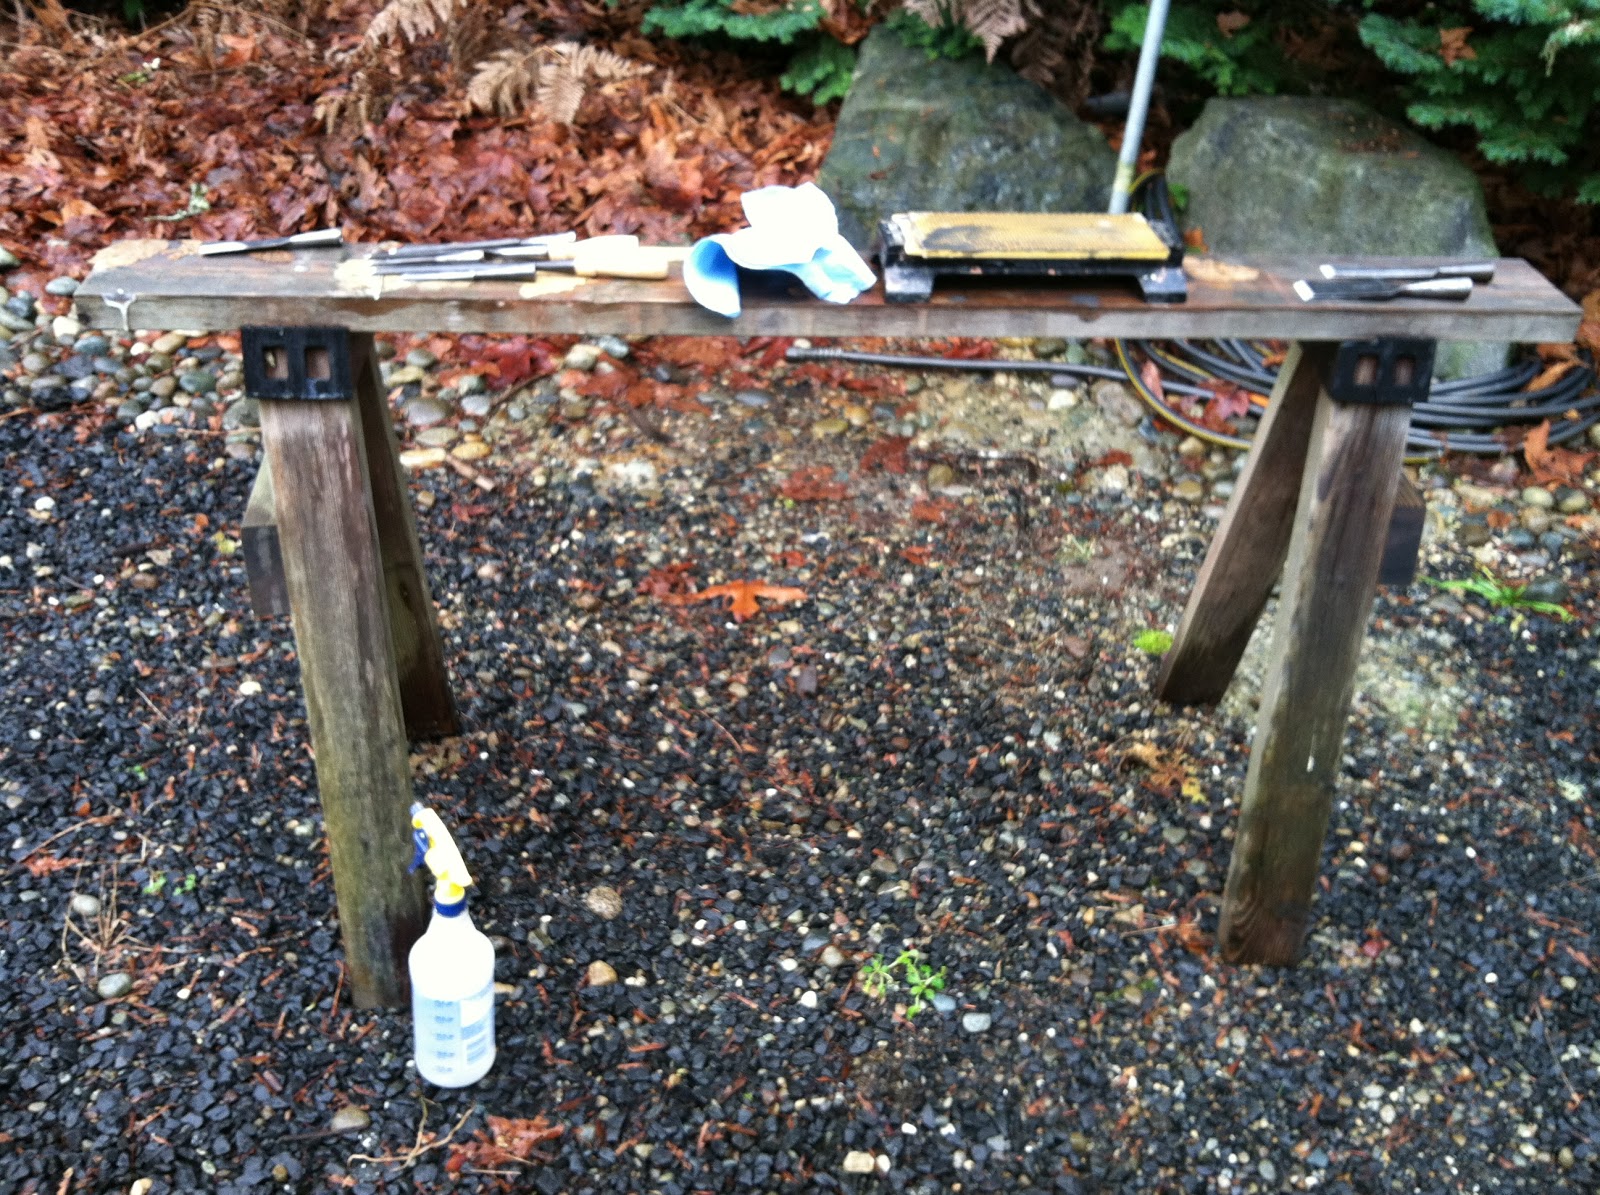
I will share a secret here that, if properly used, will save your hands, your stones, and a lot of time in the flattening process. Do this only if your blade is very pitted or extremely out of true. Mount a belt sander sandpaper belt side up in your bench vise.
Practice (when the tool is off) laying the topmost inch or so of your blade dead flat over the paper.
Turn the tool on and be very careful to put even pressure all around and get it as flat as possible here.
Move to flattening on your coarsest stone (or whatever method you use).
Using even pressure on a diamond plate or your stone, rub the blade back and forth until an even scratch pattern can be seen across the entire back of the blade where the bevel meets it at the tip.
Move up through the stones until the blade back has a mirror polish. You should be able to see your reflection when you are finished.
After a few minutes at each stage of this process, color the whole back of the chisel where you are working with black sharpie.
Rub a few strokes on the stone and see what of the chisel markings are being removed. Adjust your strokes and pressure accordingly until a few strokes on each stone will remove the sharpie marks entirely, especially at the edge near the tip. If you are afraid of using the belt sander but the blade has very obvious high spots, you can also use a Dremel tool with a sandpaper or grinder attachment to grind away those specific high spots. Be careful, however, not to get too excited with the Dremel and dish the back, or you will have to take even more material off to achieve a flat back. After a few seconds with the Dremel, use the marker and take a few strokes on the stone/diamond plate to check your progress. Again, practicing first using a more disposable blade and a sharpie will be helpful because it is, at first, a little difficult to remove material evenly. Practice makes perfect. Or in my case- close enough for woodwork.
After sharpening, wipe dry with a paper towel then give the blade a wipe with a tack cloth soaked in jojoba or mineral oil. Jojoba oil is better in my opinion than mineral oil because it is dryer and there is less oily residue left on the wood. Another benefit of jojoba oil is that it seems to be less "sticky" than mineral oil when it comes to sawdust, and, as I'm sure you know, sawdust is every woodworker's enemy because it traps water and rusts your tool.
Coat the entire tool Boeshield. After each use, I blow the entire tool off with my air gun (be careful not to drop it on the concrete and shatter one of your favorite new planes while doing this...) and then give them a thorough wipe with the jojoba cloth. Blades that have the screw-on chip breaker need to be checked on occasion to be sure there are no shavings trapped in between the blade and the breaker because those little buggers are sure to rust your blades in a flash.
Go forth and restore!