TV Tray/Lap Desk/Sofa Table? Whatever You Call it, I've got a new Project!
When Erik and I built the sculpted walnut table for the tiny house, there were several mid-project design changes and design ideas. One of which we actually made, then realized we didn't like the way it looked. We spent a huge amount of time resawing and flattening this piece of black limba by hand, so I wanted to make sure I came up for a good use for it when we decided not to incorporate it in the original table design.
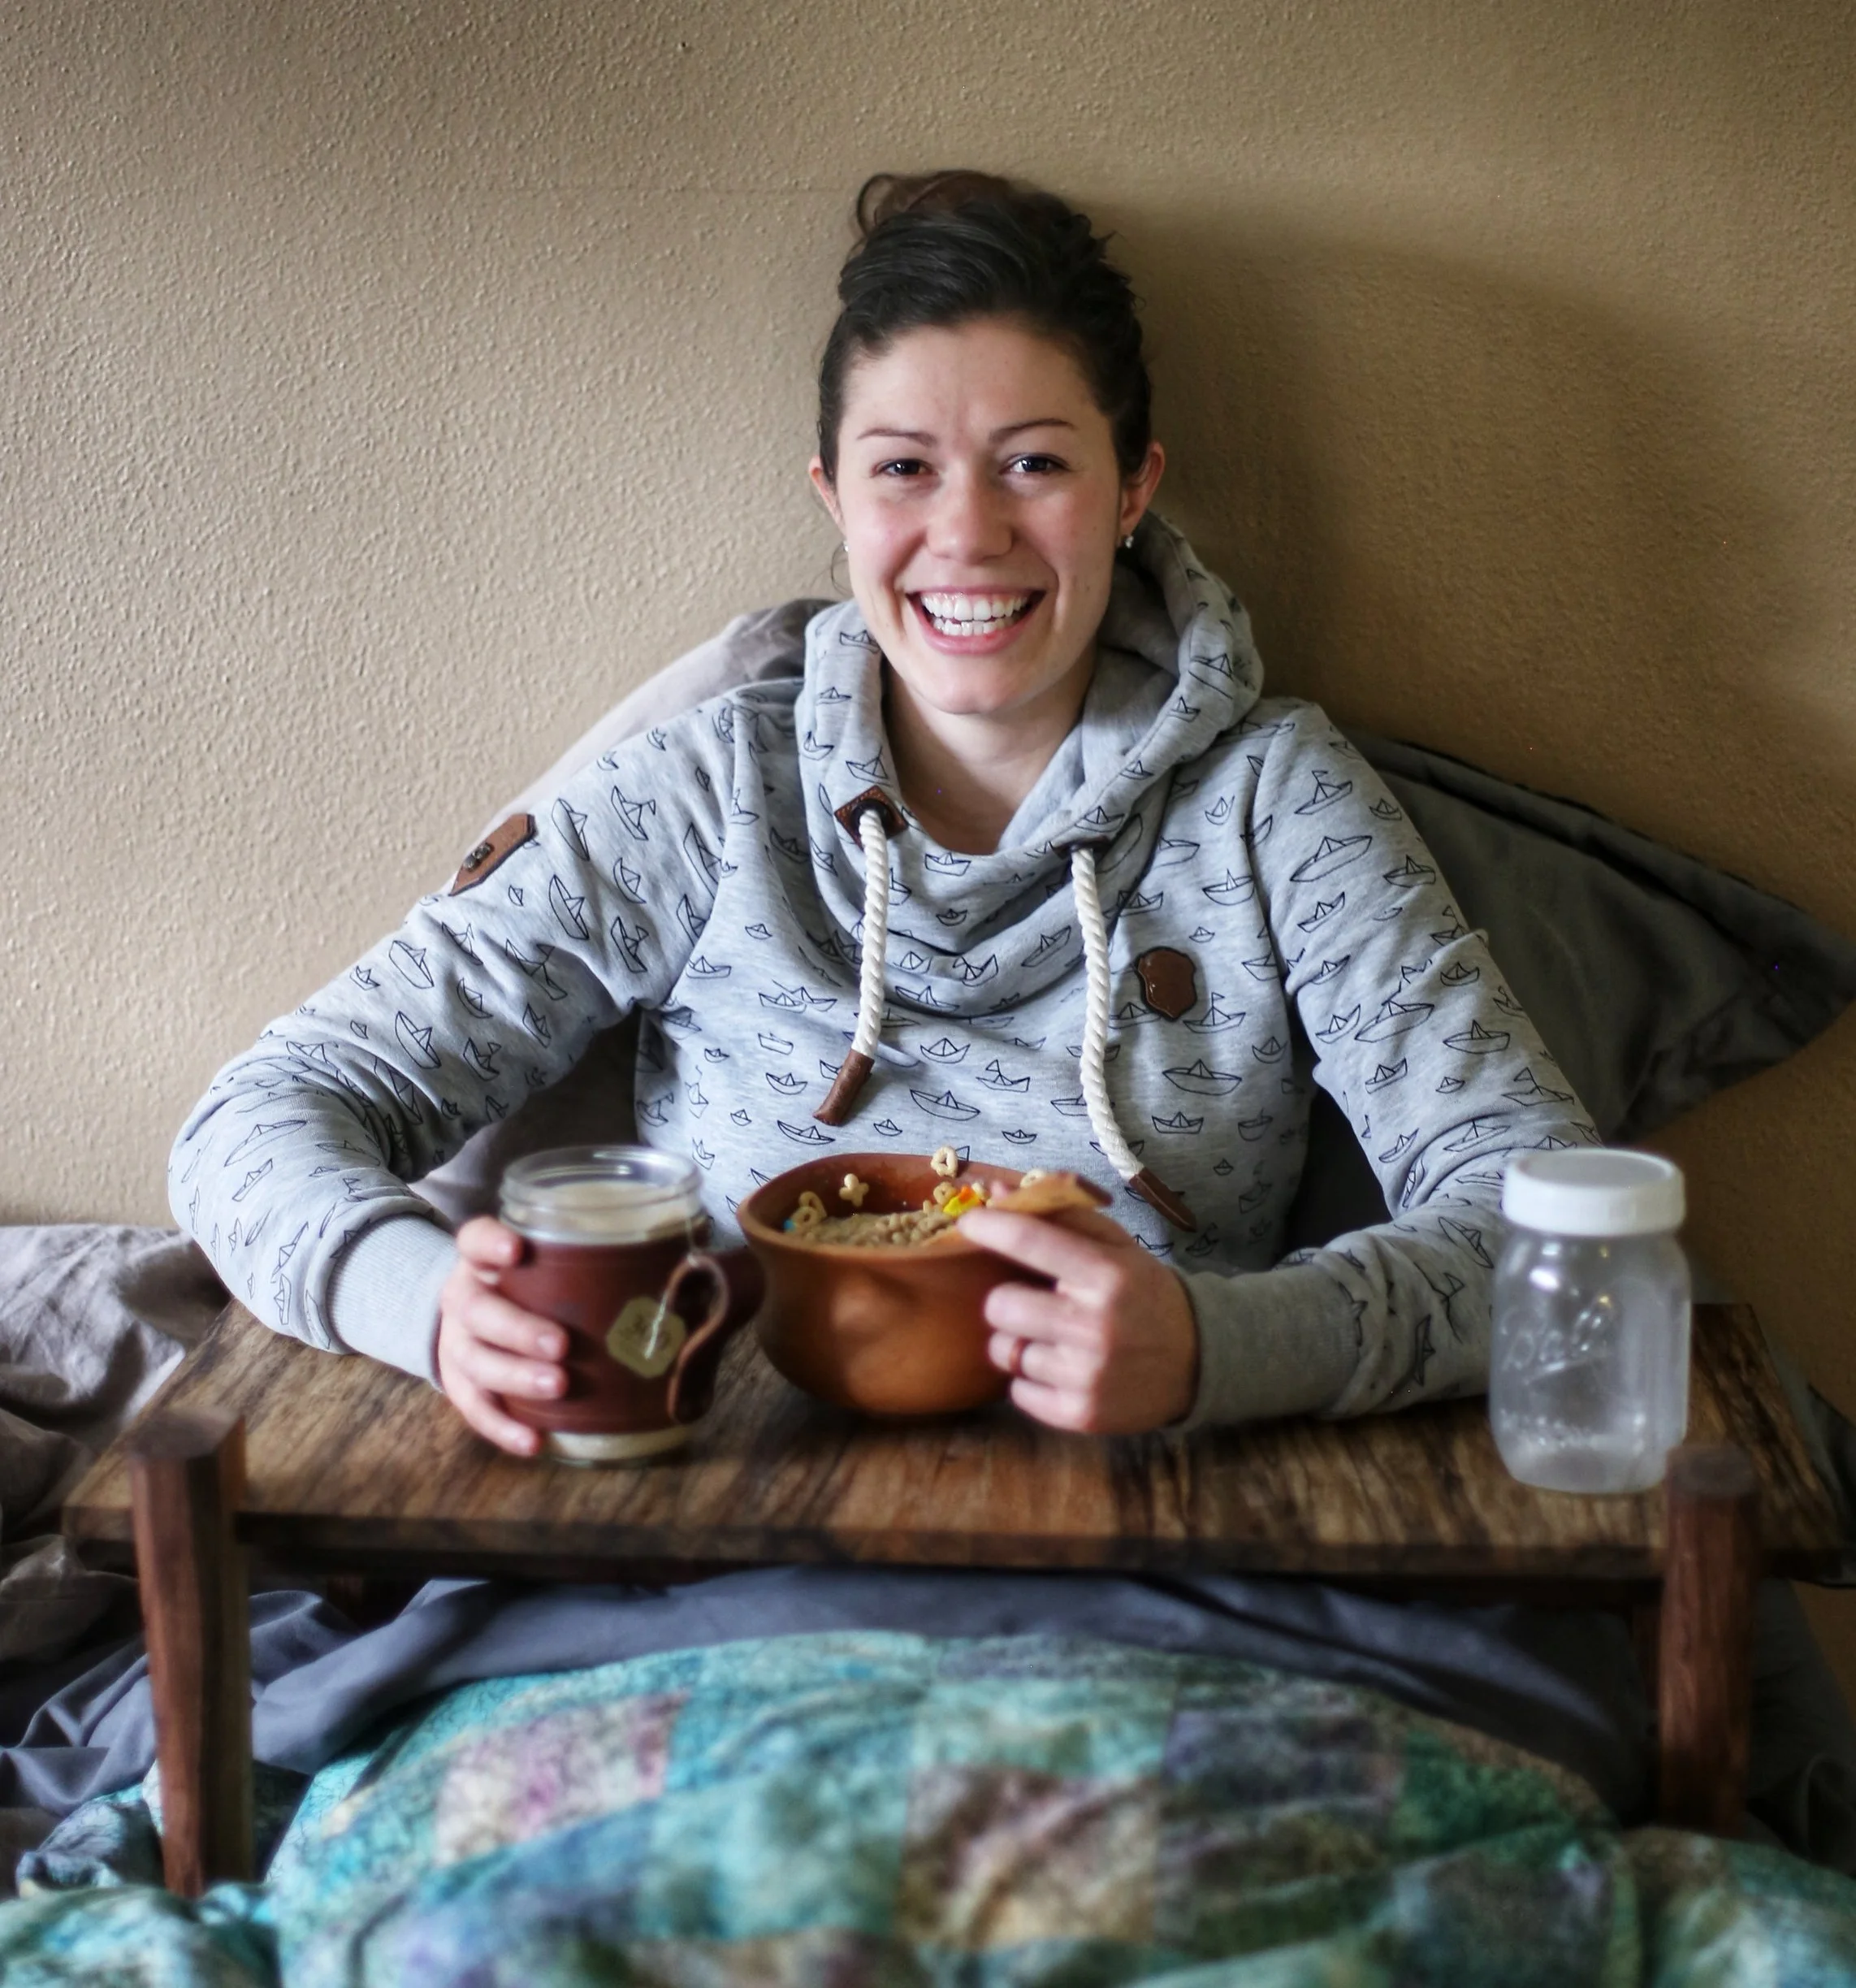
I saw someone eating breakfast in bed on one of my favorite shows, and came up with the perfect project idea: a bed table. This could be used as a TV tray, a tray table, a couch table, a workstation for working in bed, used as a tea party table seated on the floor... so many options, but most importantly, the Limba top found a table to go with it, and I couldn't be more pleased with the design.
I had chosen Black limba for the sculpted table top because not only is it one of my favorite woods to work with handtools, it’s coloring and open grain structure make it a really nice match for walnut, which is what we were using for the leg stock. The original plan was to glue up and resaw a piece of black limba to create two bookmatched round pieces for the sculpted table. We cut down a slab and prepped it for the first glue-up, then I used the tablesaw to cut dead center on the piece and establish a starter kerf around four sides to act as a guide for the framesaw as we resawed it. The framesaw can be used by one person or two, but I was definitely grateful Erik was around for this cut. The saw cuts surprisingly fast because it’s sharp and there is a low tooth count per inch, but it was still quite a workout. Because we wanted to be sure to preserve as much thickness possible for the resawn piece, I added domino joints to align the panels. This is a largely unnecessary step, but considering how thin the panel actually got at the end there, I was really thankful I thought to add them.


One tip for large panel glueups is to choose the show face before glueup, then adjust the glue line with mallet taps after the piece is in the clamps so the show face has as few undulations as possible.

With the panel out of the clamps, it was time to flatten it. It was too big for my surface planer, so I had to do it the old fashioned way. I started with a scrub plane, which has a curved blade that scoops material and cuts quickly. Wood grain is weakest when cut across the fibers, so when a lot of material needs to be removed, cutting across the grain, or traversing the grain is the most efficient way to do it. The scrub plane removes material in a hurry, so it’s a good idea to stop and check your progress often.
After the scrub, I use a jointer plane to finish truing the surface. This gets rid of the scoop marks from the scrub and ensures the panel is flat along it’s surface. Even with the jointer, I stop and check my progress with a straight edge often, marking the high spots with my pencil. When the pencil line is gone, I recheck and redraw my lines when necessary.
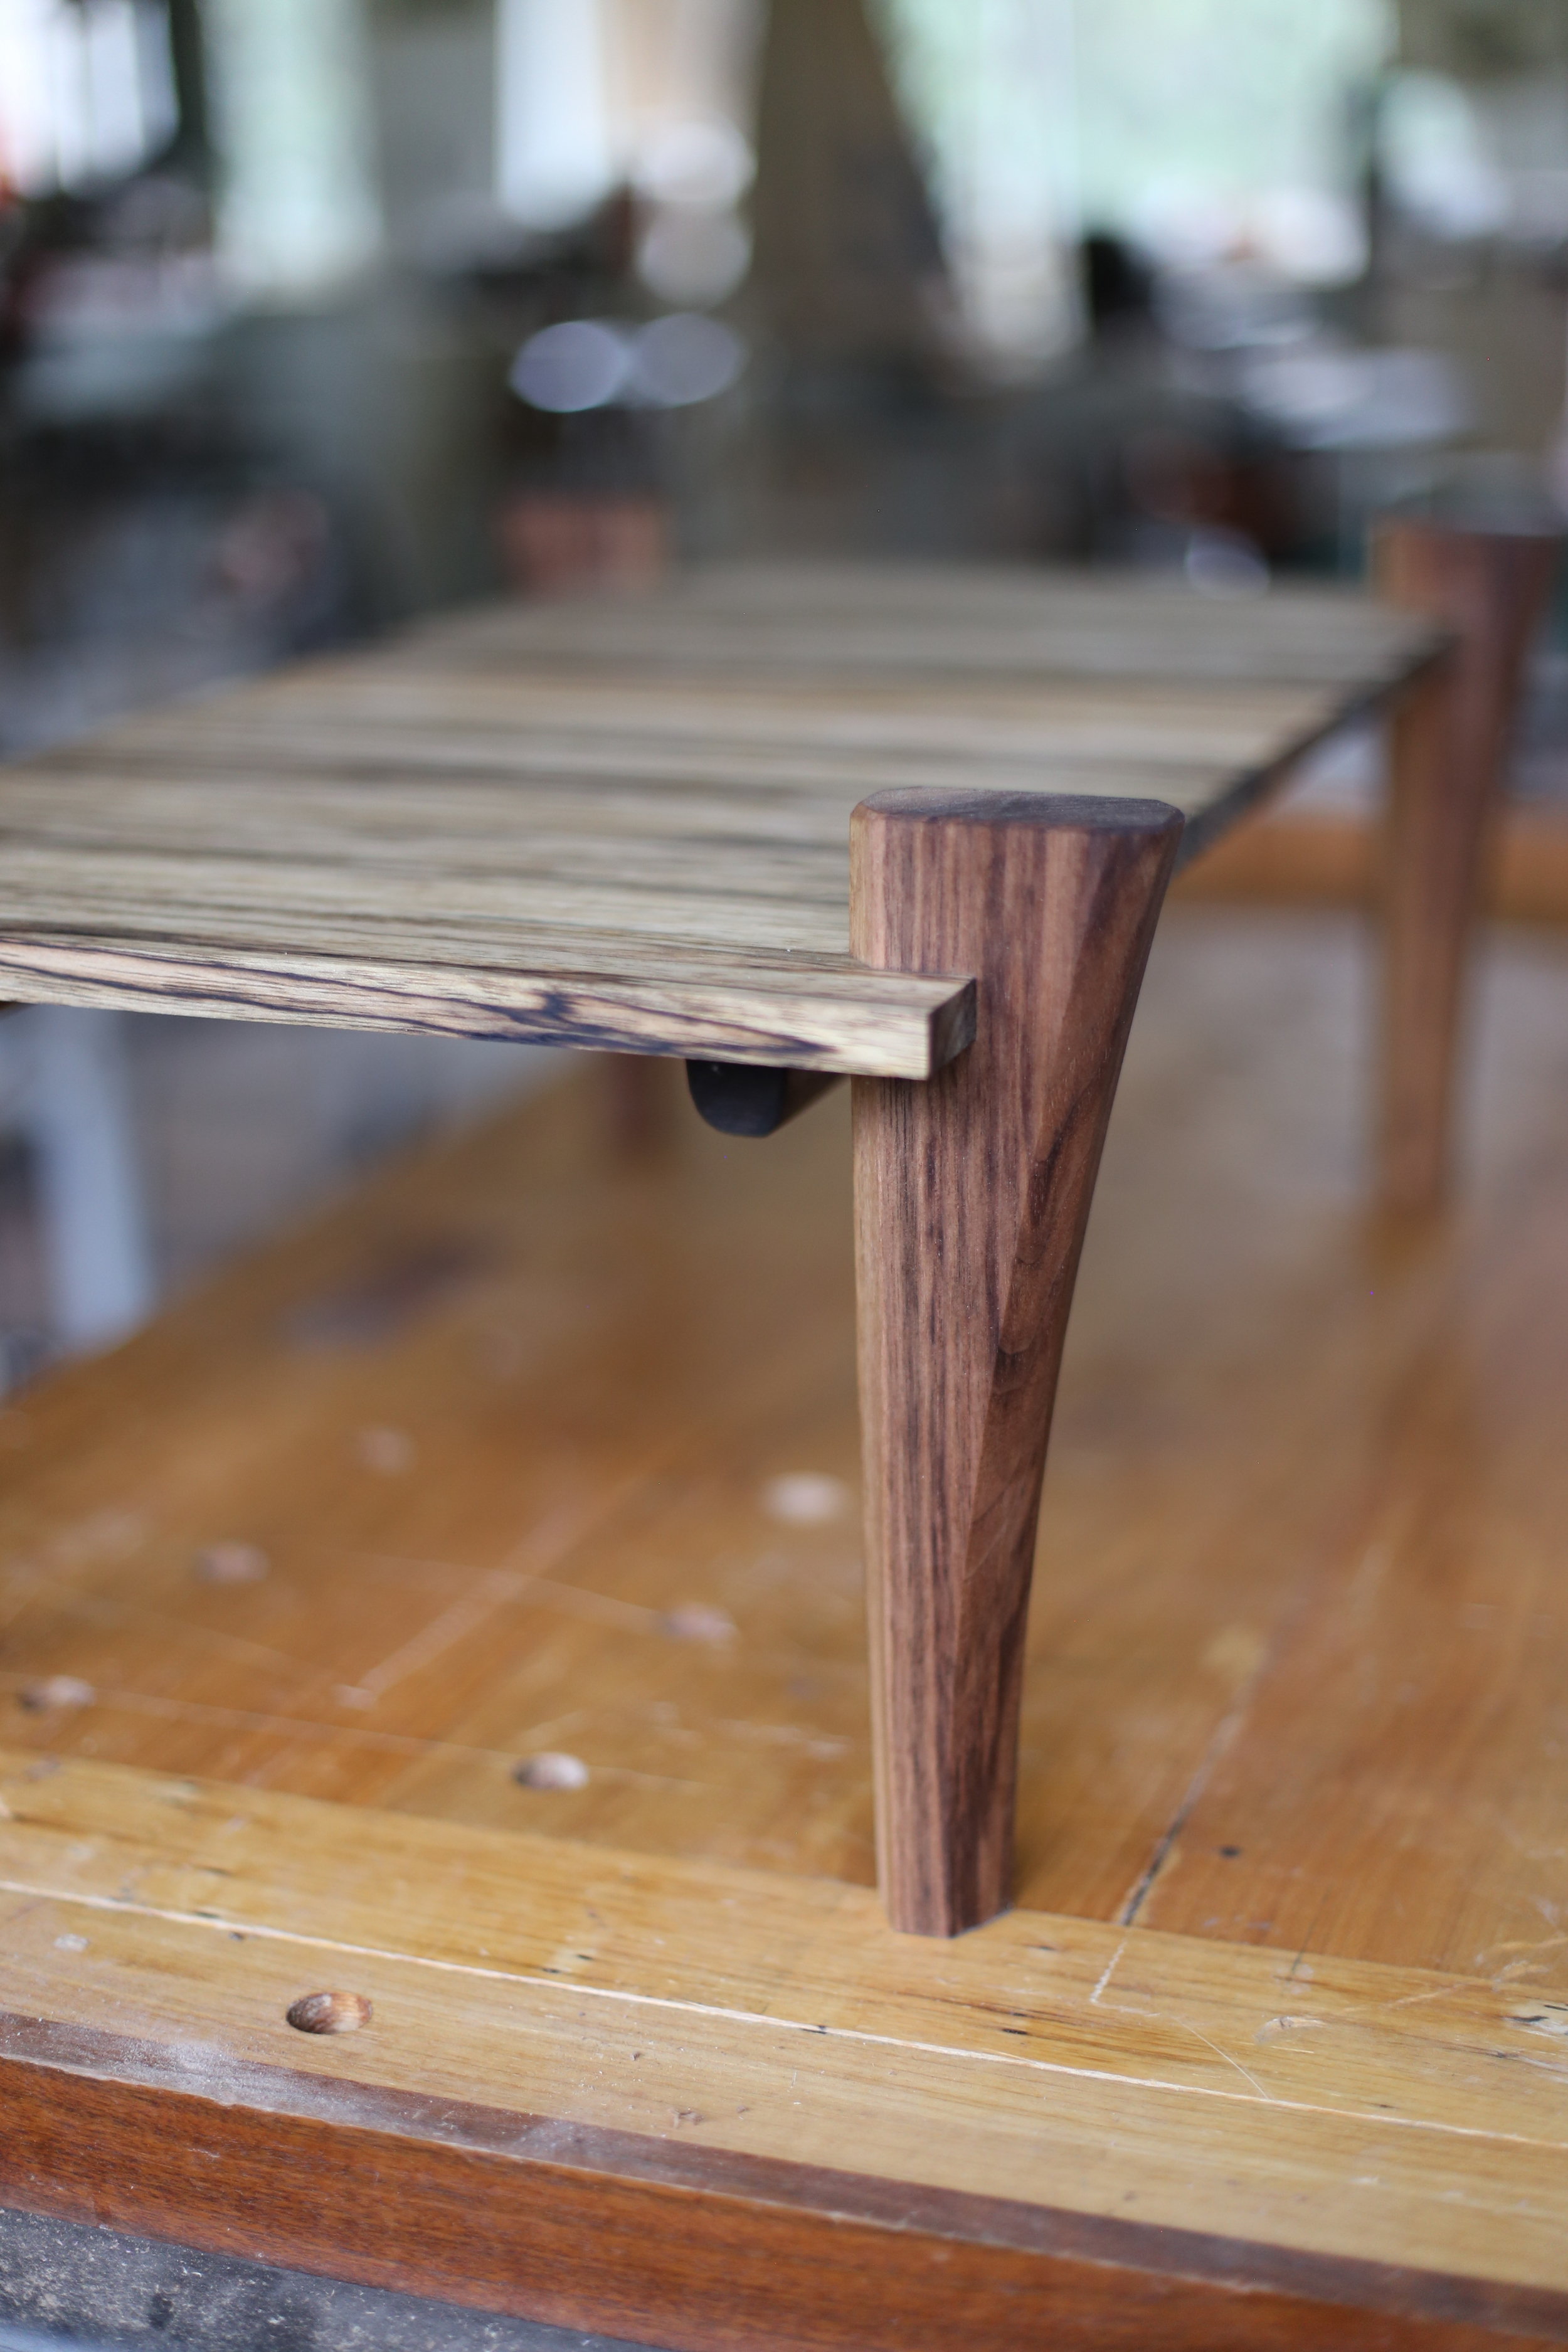
Despite my greatest efforts, the final thickness of the panel was a tad too thin for my liking, and, since the grain of the wood runs perpendicular to the long side of the table, I added some walnut supports along the bottom. You’ll notice that the middle hole in the supports is round and the fastener holes at either end are elongated. This will allow for seasonal wood expansion and contraction. The fasteners will hold the two pieces of wood together, but when the panel expands and contracts, the screws can slide freely within their slots on the supports.
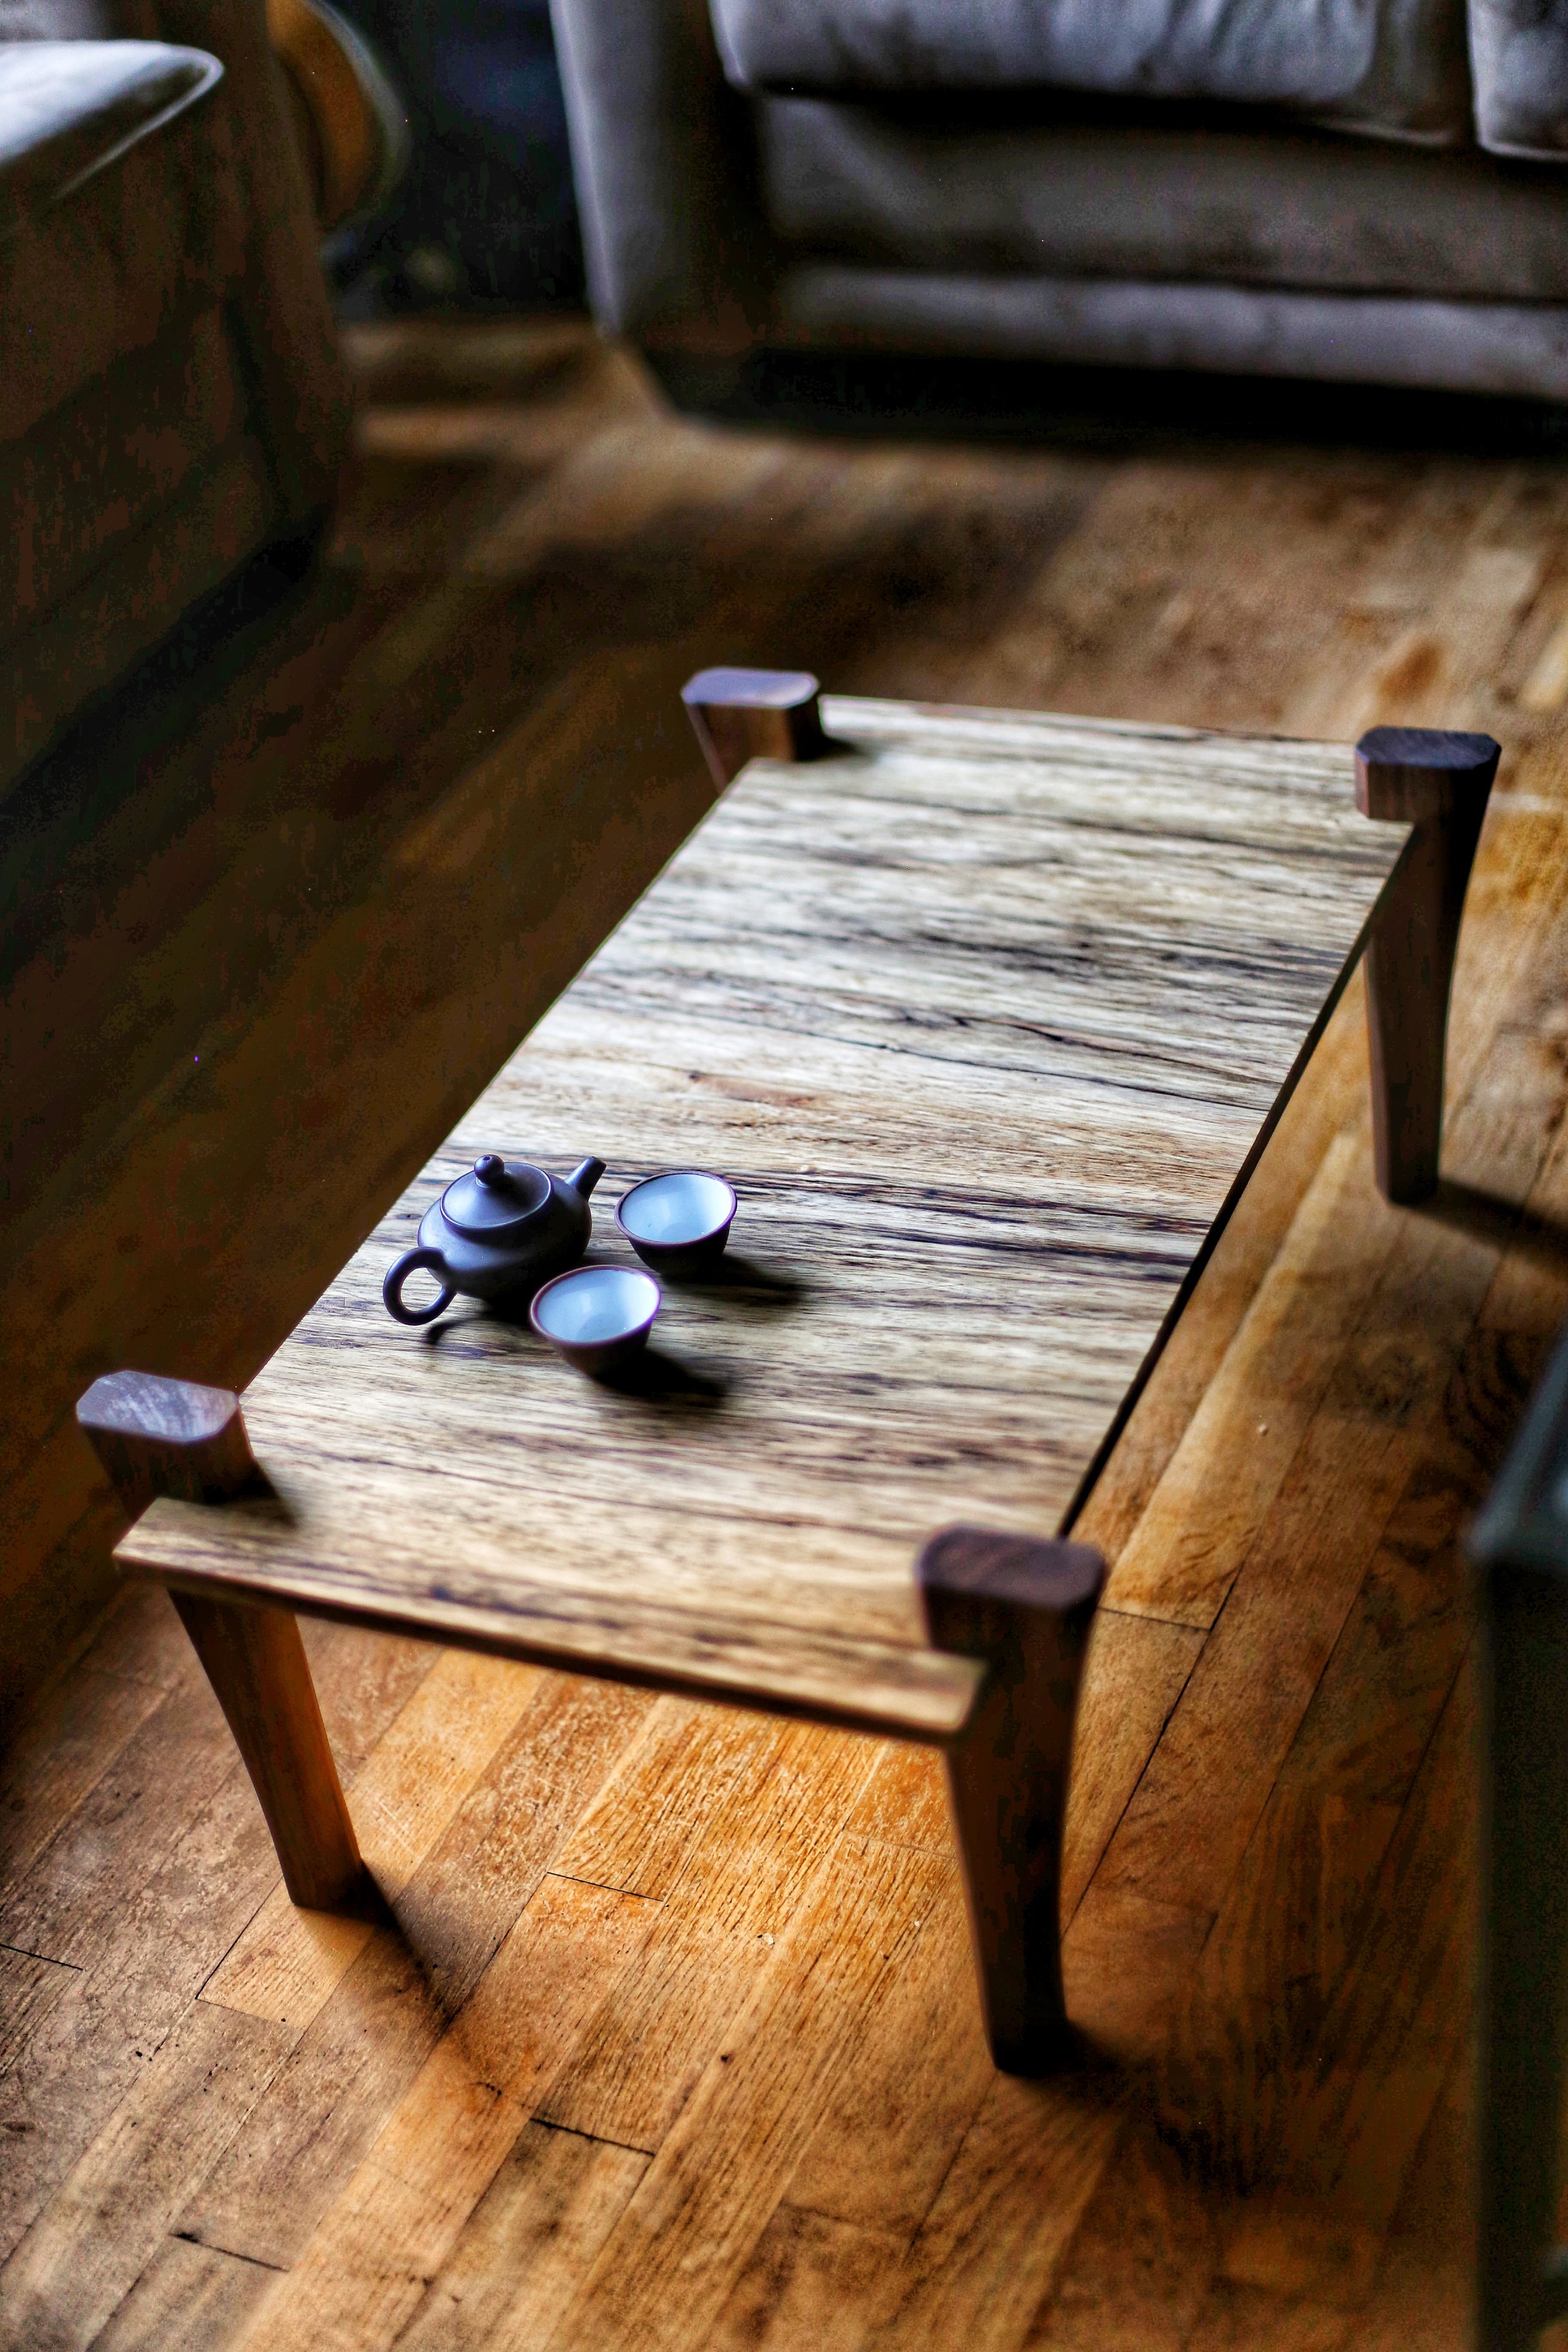
I really liked the way the scrap leg material curved outward. I wanted to utilize that as a design feature in these new legs. I used all the 3d design and carving I’d learned from my past two projects and put them to use on this one, designing curvey, faceted legs that came out exactly how I wanted them to.
This is a pretty simple two day project that would be made even easier if a few more power tool methods were used and/or available to be used, but I’m so pleased with how awesomely ELEGANT this piece looks. It’s light, I love the lines, and it’s built well, and thus should last a nice long time. Another win for Black Limba and Walnut if you ask me!