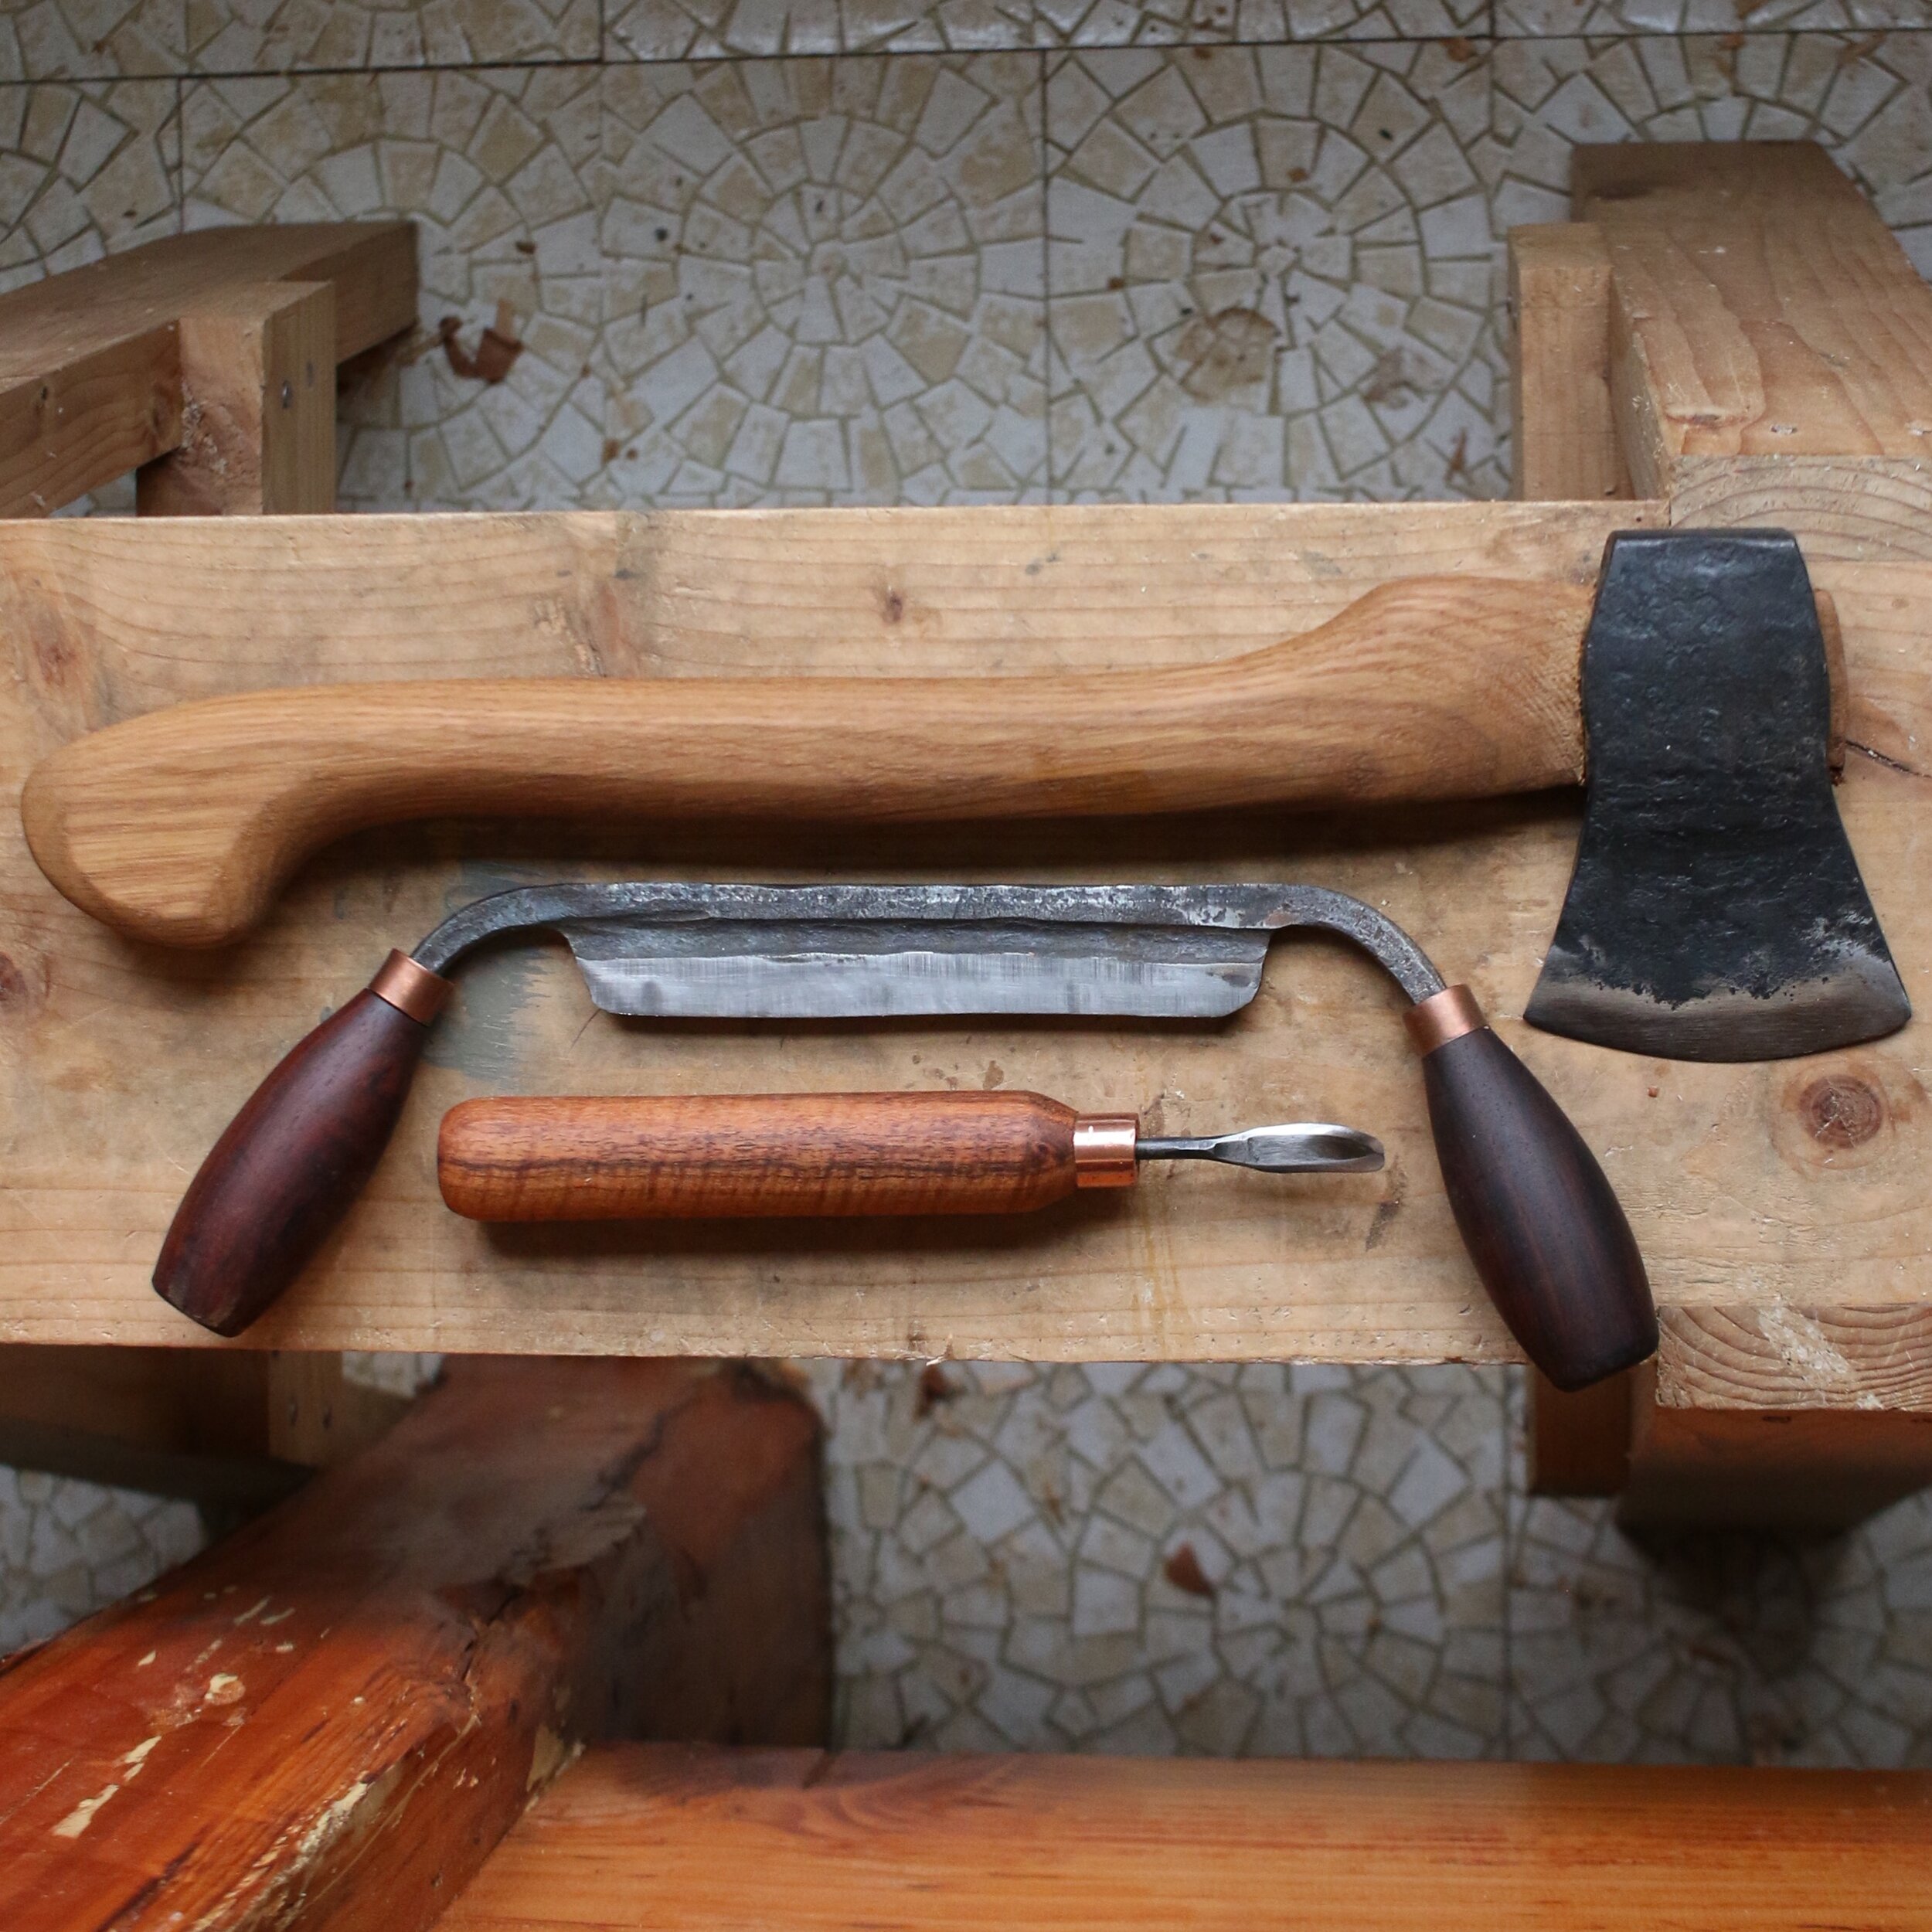
How To Make and Hang An Axe Handle
One of the easiest ways to make tools more affordable is by bringing old tools back to life. A little TLC and a handmade handle on a $5 garage sale axe head can yield a valuable axe that will last for years to come. Here’s a step by step tutorial on how to make and hang an axe handle.
Choosing the Wood
The most important thing is to make sure the grain runs vertically from the handle to the head of the axe.
Pick a nice, straight-grained hardwood for your axe handle. White or Red Oak, Hickory or Ash are options commonly available at most hardwood stores. If you can find a super straight-grained fruitwood, that will work too.
Avoid softer woods like Pine or Fir. (A 2x4 from your local home store probably isn’t the best option here).
Wood gets its strength from its grain, and the way you’ll protect yourself from a handle snapping in use is by choosing a really straight-grained piece of wood. Examine your wood to determine that at least a few lines run through the entire handle design. If your starting board is wide enough, you might be able to accommodate a certain amount of crooked grain by laying out your axe handle shape in a way that accommodates as many of those continuous grain lines as possible. Grain run-out (grain not following the shape of the handle) will create potential weak points and may result in your axe breaking when using.
Fit the Handle onto the axe Head
The most important thing here is that the sharp blade of the axe ends up perfectly square, centered, and lined up with the long part of the handle of the axe.
Draw some reference lines through the center before you begin and try not to remove them till the end. A good rule of thumb when fitting the axe head is to use your “biggest” tools to remove the majority of the waste fastest- so carve it down first with a knife, then resort to rasps.
If you’re sanding, start with a low grit, but go slow and steady, it’s easy to accidentally remove too much too quickly. Another thing to be wary of when sanding, especially if there’s not a solid backer, is that the edges are prone to rounding quicker than the middle bits because there’s less material, and thus, less resistance out at the edges.
Remove Material from High Points
When you fit the handle onto the axe head, notice where the wood is getting pinched. This process will reveal the high points in the wood and where you need to continue to remove material. Once identified, use your knife to carve away the areas where there were high spots that prevented the head of the axe from getting seated.
PRO TIP: If you use a pencil to crosshatch the wood as you’re test fitting, the pencil will get removed from the high spots as you start to seat the blade, so that will give you an indication of where material needs to get removed. Stay away from the pencil lines you can still see as you remove more material because the presence of pencil after a test fit indicates “low spots.”
The axe head should fit pretty snugly before you put in the wedge, the wedge is basically a failsafe after you’ve fit the handle.
Install the Wooden Wedge
Cut a wedge out of a nice, straight-grained piece of hardwood. I like using contrasting wood colors, so a walnut wedge with a hickory or white oak handle looks nice. The wedge should be slightly taller than the axe head and gradually come to about a 3/8” thickness at the thickest spot. Make sure, again, that there’s not tons of grain runout in the wedge or it will be prone to snapping as you install it. Cut a kerf (sawcut) down the center of your axe handle where the head will be seated. Then, use a steel hammer to set the wedge.
Apply oil to Finish
I use flax oil for most things. It's easy to come by in any health food store and most grocery stores (check the organic refrigerator section). It brings life to so many pieces of wood and I love the way that it looks. The end grain is always the thirstiest and of course, my metal isn't going to be sad if it gets a little flax oil on it either, so I’m always very generous with the oil in those areas.
PRO TIP: The man who taught me to forge axes likes to soak his axe handles in oil before he hangs the head. He learned this from the man who taught him to make axes who learned it from the man who taught him. This method is a little controversial because some would argue the oil causes the wood of the handle to swell prior to hanging the head, which would put it in danger of shrinking as that oil dried up, but as someone who has made a lot fewer axes than he, I wanted to trust his process this go around. For what it’s worth, three years later, this axe head is still as tight as the day I hung it.
Restoring a vintage axe with a freshly honed blade and a new handle is a fantastic way to round out your axe collection in a super affordable way. I forged this particular axe head, but have used this method on lots of vintage numbers as well.
I filmed a follow-up video on restoring a $2 garage sale axe I just picked up, and be sure to check out Josh and my courses The Way of the Axe and the Hatchet as well as How to Sharpen Anything at the School of All Trades!


