9 Home Center Tools to 10x Your Woodworking
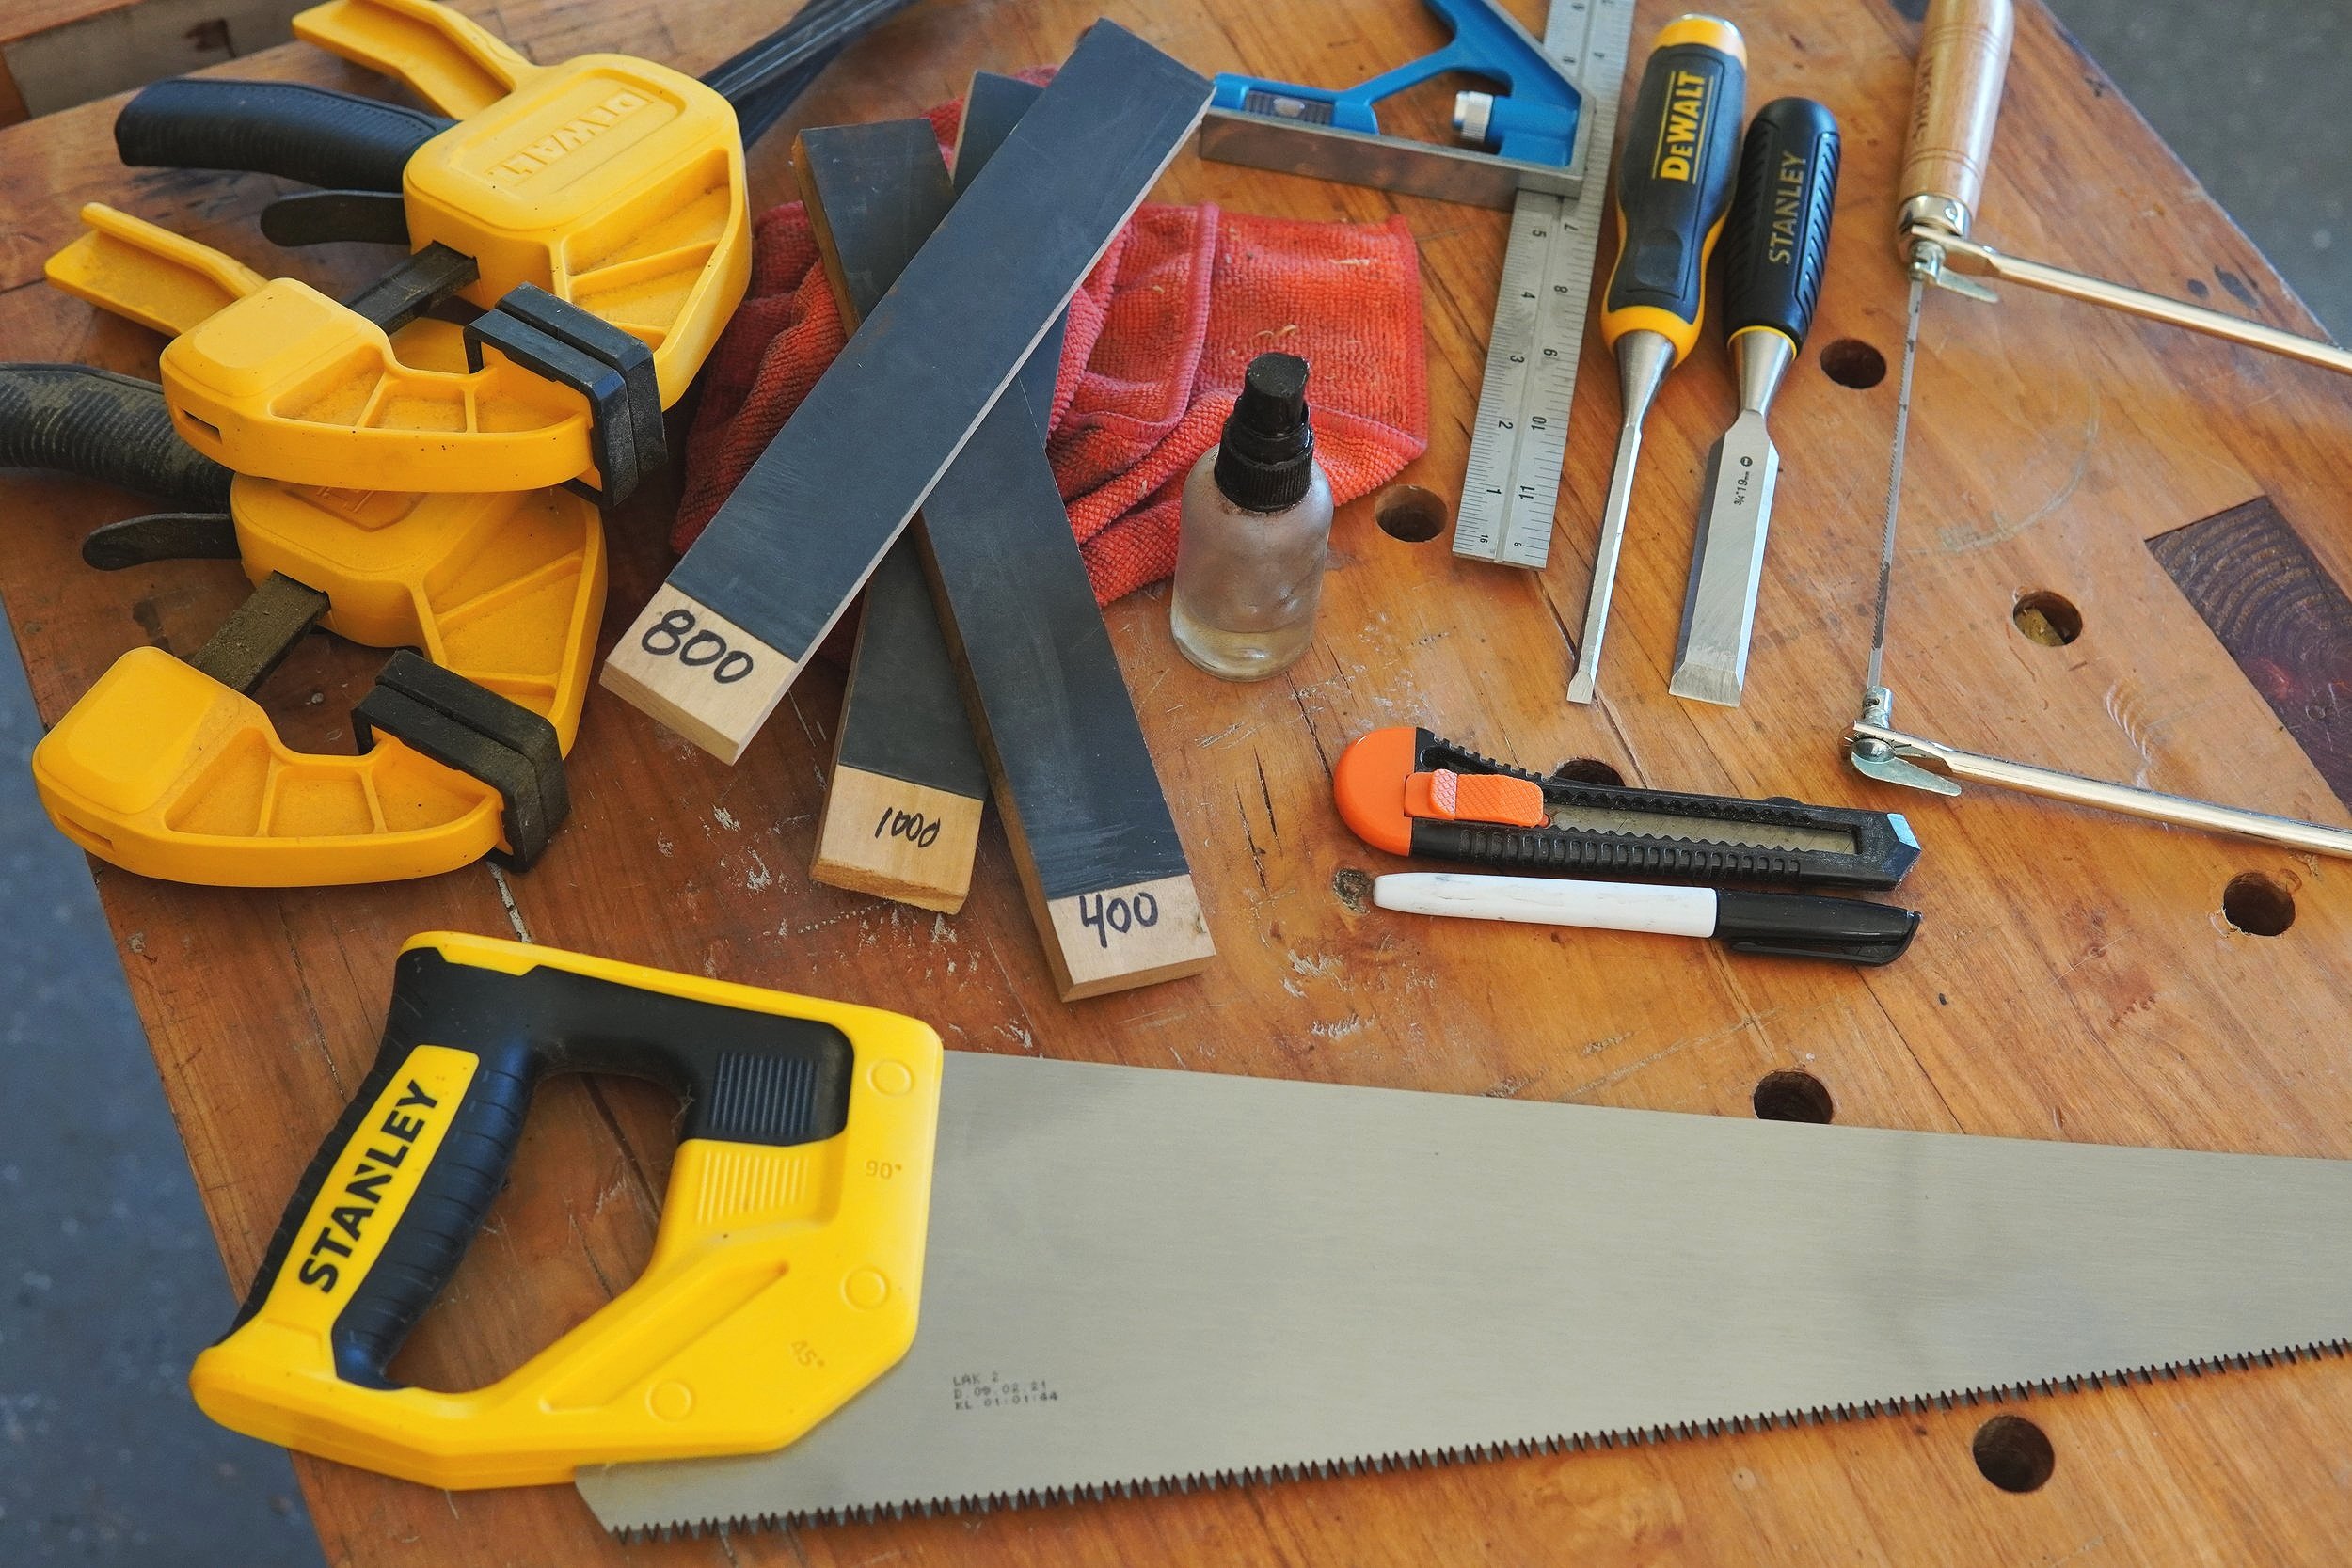
Are you ready to take your woodworking to the next level, but your budget is keeping you from really investing in your toolkit? Incorporating a few handtools and hand skills into your work is exactly what you need to 10x your woodworking projects, but boutique tools are expensive and there is SO much information out there it can be tough to know what you even need to get started. On a recent trip to my local home center, I picked up a handful of items- some to test to see how well they worked in comparison with their much more expensive boutique tool counterparts, and some just because I needed to restock. Here are 9 items easily found at most home centers that (with practice) will elevate your woodworking without breaking the bank.
So you want to start woodworking, but you don’t have all the money in the world to deck your shop out with the best woodworking tools around… nor should you!
When you’re starting off, simple hardware store tools will do you just fine. In fact, some hardware tools will be all you need for the rest of your life.
Here’s a list of my nine must-have woodworking tools:
Marking Knife
Handsaw
Coping Saw
Quick Release Clamps
Chisels
Keep reading to find out why these make my must-have woodworking tools list, but also my pro tips on all the different ways I use them as well.
Wet/Dry Sandpaper
Wet/Dry sandpaper (automotive paper), adhesive spray + sundry items for making custom sharpening/detail sanding tools are game-changers. It’s what I use for making my spoon-knife sharpening kits and detail sanding blocks for woodworking and blacksmithing tasks.
PRO TIPS: If you don’t have a sharpening setup yet, this is a great, cheap place to start. Sharpening your tools, even if you don’t *technically* know what you’re doing yet, will more than likely make a huge impact right off the bat. If you need some direction on sharpening, check this blog post on how to sharpen a hook knife or this post on how to sharpen a chisel.
**even though you *can* get this from the home center, I’ve found it’s WAY cheaper to get auto mechanic shop cutoffs in packs like these from amazon.
Marking Knife
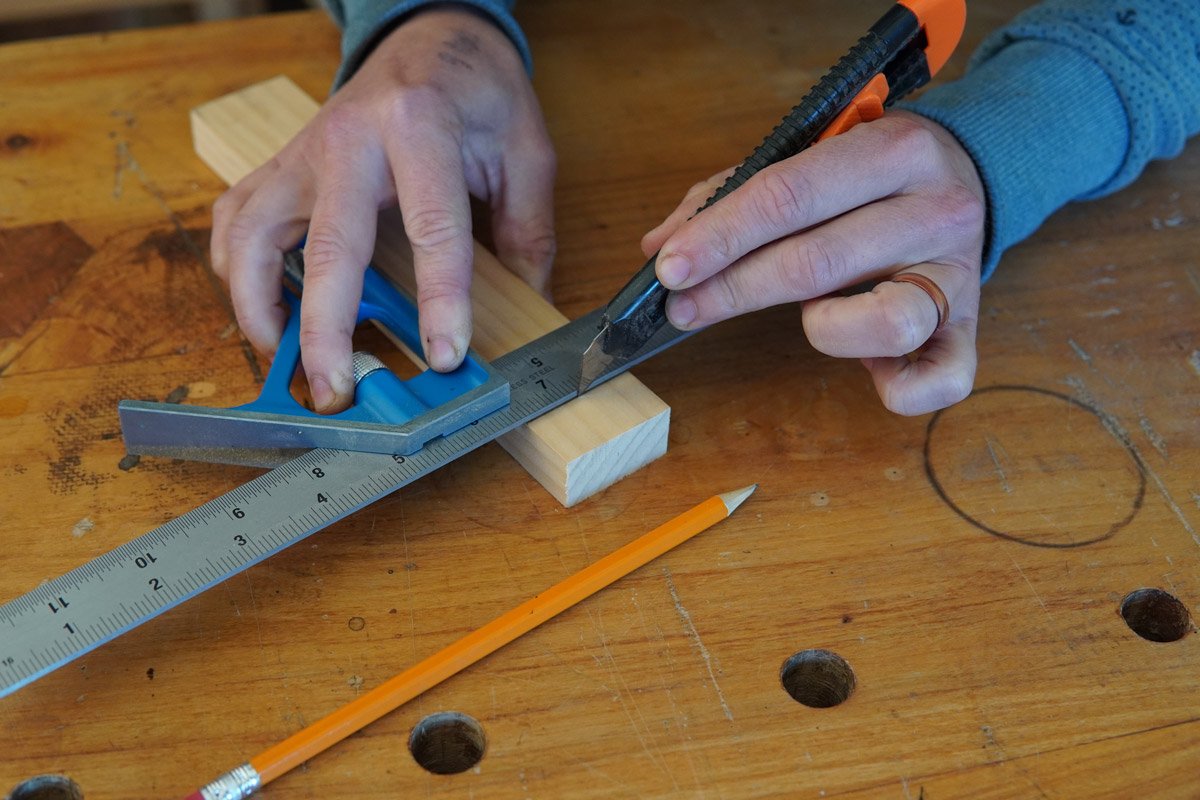
Using a box cutter as a marking knife will get you a long way before you need to upgrade. The ease of getting a new razor-sharp edge on your home center knife will make your early woodworking days much safer and more enjoyable.
Tips for use:
Multiple strokes save you from wandering lines. Take one light pass, then deepen the linke with subsequent passes.
Stick the tip of your knife in the exact location you want your line, then slide your square against the knife, avoid shadows/viewing angles from introducing placement errors.
Chisel width trick - when making mortises or dadoes, mark the top of your dado or mortise, then place your chisel just alongside that line, mark the bottom of your dado/mortise using your chisel width for an exact, no-measure, no fuss location for your bottom scribe line.
All-around Handsaw
I love my Stanley Fat Max saw because…
it’s small
it’s “hybrid” filed (it can cut rip and crosscut fine)
it’s light and portable
can get in a lot of spots your circular saw, table saw, miter saw, etc can’t
it’s not nearly as slow in use as you might think.
*NOTE: The teeth of these saws are extremely hard and difficult to sharpen. I generally don’t like advising people to buy cheap, replaceable goods, but I have gotten a ton of use out of my old Fat Max and it’s served me very well for several years. It’s nice to have a saw I can take risks with, that can get wet, and that I’m not constantly fussing over, as I do with my restored, hand sharpened antique saws.
Tips for use:
When using a handsaw, keep your body out of the way. Drop your hand to your side, then swing your arm like a windmill. When sawing, you want to be able to be making this motion. You should stand off to the side of your work, ideally slightly above it, and your arm should swing freely.
Clamp your piece well, nothing makes sawing a chore like a chattering piece of wood. Gravity often works as a clamp (a knee, a clamp, an arm lean, a buddy). Keep that piece still to save you tons of frustration and wasted effort.
Point your finger on the handle in the direction you’re sawing, it will help direct your cut.
Cut only one line at a time- if you’re cutting across and down a piece, pay attention to only one line at a time. Angle your saw so you can cut straight down first, then lengthen your stroke and lower the angle of your saw to extend your line along the cut.
Cut on the waste side of your line - it’s hard to make your board longer if your cut wanders and you need to refine it.
Coping saw
A coping saw gives you the ability to cut curves and it gets into tough spots.
*NOTE: Home center coping saws are a temporary bandaid, but will make you a very discerning customer when you are ready to invest in a quality coping saw.
Tips for use:
Use a lubricant - (tea candles, mutton tallow, beeswax) lubricate the blade because friction makes everything harder, makes your blade heat up, and makes snapping the blade far likelier.
Slow and steady wins the race, if you’re cutting a curve, do so while the saw is in motion, don’t try to make a hard angle.
Quick-release clamps
Quick-release clamps are lifesavers, especially when working by yourself! Check out my quick-release clamps in the photo at the top of this blog post! I LOVE THEM!
Chisels
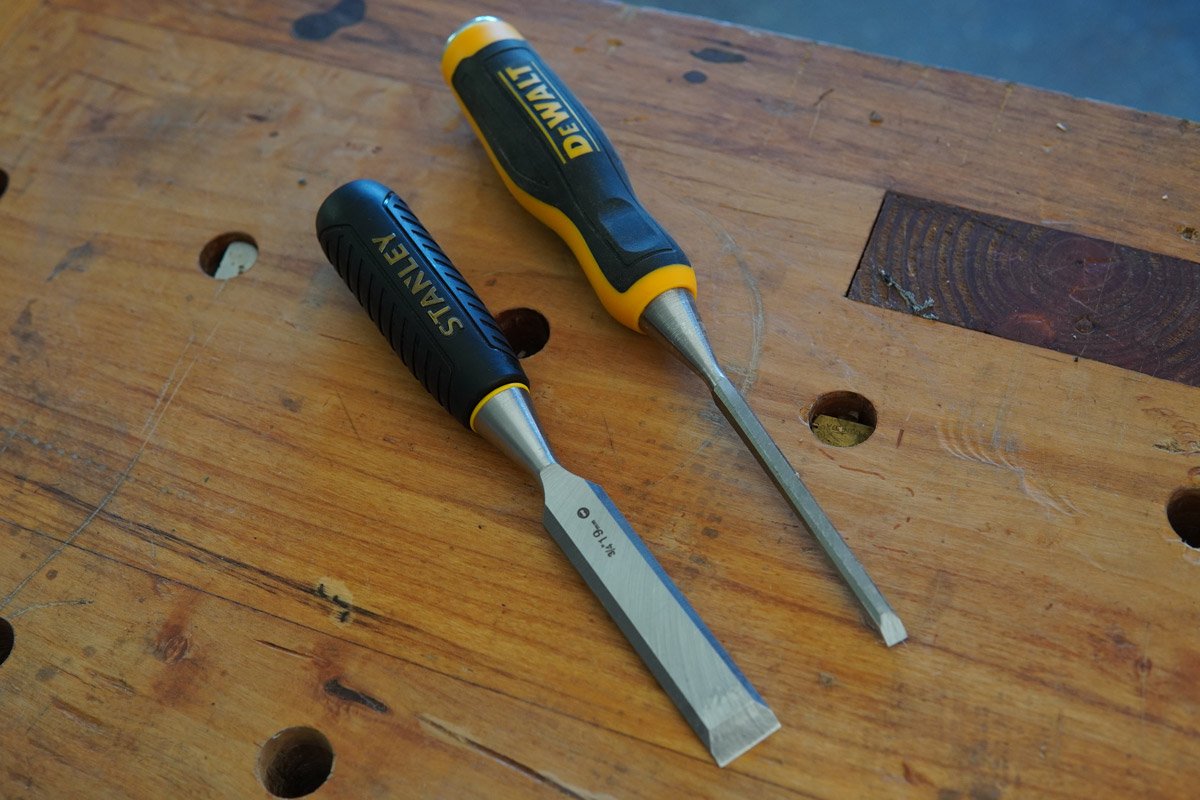
Pro Tips: Don’t waste money on a huge set, pick 3 or 4 that you can buy individually. If you’re using home center lumber, your most common sizes are going to be 1/4”, 1/2”, 3/4” and 1”. I usually skip the 3/4” chisel and get an extra-wide 1-1/2” or 2” chisel for quicker waste removal.
Sliding rule
You’ll ideally want to get two or three sliding rules, they’re that handy!
Pro Tips: Use the slide-lock function to save measuring and marking time (and mistakes!!) on repeat measurements, like when setting hinges.
You can also use the slide-lock function to transfer measurements/joint locations from one board to another without even having to look at the numbers. How far is this overhang on this side of the desk? Slide, lock, repeat that overhang on the opposite side.
Sharpie markers
I use these for EVERYTHING from quick, rough marking, to keeping notes on post-its (and on the back of my hands), to progress gauges for my sharpening.
Microfiber cloths
Microfiber cloths are great for keeping tools rust-free and safely stored, cleaning the shop, and applying a dust-free finish, you can never have too many of these.
Pro Tips: I keep a jojoba-oil-charged microfiber cloth (an oily cloth) in a sandwich baggie by my sharpening station and in my tool chest so I can wipe down my tools before I put them away. This safeguards really well against rust.
Other Posts You May Enjoy
If you want to learn how to sharpen ANYTHING, check out our live class! Or check out these other posts below:


